

We have lived in our home for two and a half years and have never fully been able to enjoy our deck in the summer for BBQs. Our house faces North and we get the West sunset blaring in our deck during the afternoon hours. I have been wanting to hang an outdoor curtain but everything is so expensive. We decided to do it ourselves with
an outdoor curtain made from {painter’s} dropcloth.
an outdoor curtain made from {painter’s} dropcloth.
This project was fairly easy and inexpensive. I first measured the west-facing opening on my deck to see what sizes of drop cloth I would need. I ended up buying two 9’X12′ canvas drop cloths from Sherwin Williams. I wanted the curtains to be light weight and flowy so I bought this kind. I also like that there is a center seem, seems kind of decorative to me.
We measured the opening and then headed to Lowe’s to purchase our electrical pipes for an industrial looking curtain rod. We decided that electric piping was cheaper than plumber’s pipes and it worked out just great for us. If you are considering making your own curtains from drop cloth, keep in mind it will save you a lot of money to make the rod from electric pipe rather than plumber’s. Along with the pipes we had to buy 3 metal nipples, 3 floor flanges, 2 elbows, 1 T-connecter, and 4 EMT set screw connectors (those are the inserts with the screws to tighten). We also got screws. I referred to this tutorial for the idea. Also, the guy helping us at Lowe’s was so helpful so don’t be afraid to ask!
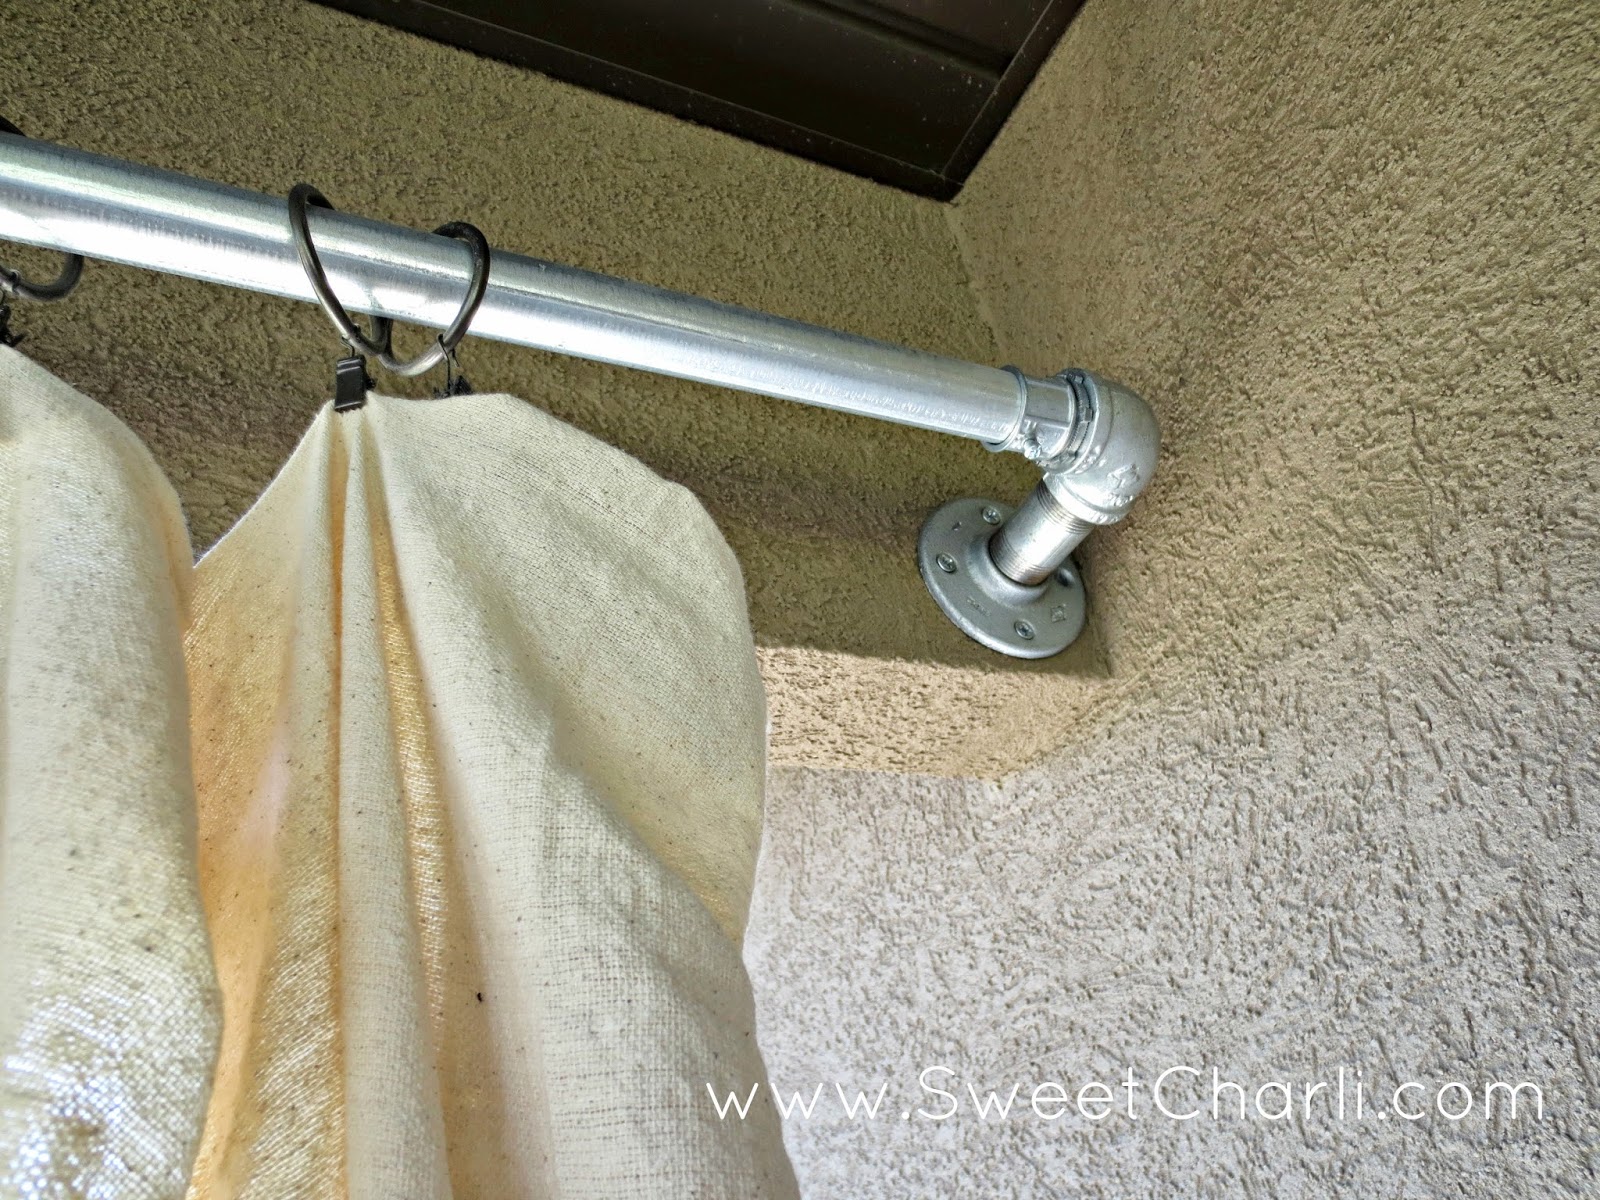

We attached the rod directly to the stucco with screws and plaster for extra support. We screwed it on both ends and then decided to do one in the middle for extra support. As you can tell in the picture above, we hung the curtains on with clip stainless steel curtain rings, also found at Lowes. Don’t forget to put your rings on before you screw the pipe to the wall!! These rings hold the curtains on really good and I love that during the Winter months I will be able to easily un-clip the curtains and take them down.

When the curtains aren’t in use, we just tie them off to the side onto the rail.
I love how the curtains turned out for our deck. The length and width is perfect, I love how they are long enough to brush the ground slightly.
Now that these curtains are up we spend most of our nights out on our deck just relaxing and enjoying the shade! We hope to have lots of parties out here this summer.


They turned out amazing! How nice to be able to have some privacy when wanted!
They look so good!! I love all the photos and instructions.
How great are these!? We dont have a deck, but if we ever do you can bet I’ll come back to this great tutorial!
How great are these!? We dont have a deck, but if we ever do you can bet I’ll come back to this great tutorial!
This is seriously such a great idea! I’ve made some pillow covers and couch slip covers with dropcloth that I bleached and I fell in love with them too! The cost is amazing and the material is perfect. I never thought of curtains like these and I’m definitely gonna try these out sometime! Bravo!!
[…] DIY Outdoor Curtains from Dropcloth 7-Day Meal/Fitness Plan […]
[…] Outdoor curtains made from drop cloth. This is the single best thing we have done with our deck. Our house faces North a and our deck […]
[…] Best DIY Outdoor Curtain Rod from DIY Outdoor Curtains from Dropcloth Sweet Charli. Source Image: http://www.kamiwatson.com. Visit this site for details: http://www.kamiwatson.com […]
Do they get dirty from rain etc easily? How often do you have to wash them?
They will get dirty over time, but luckily mine come down really easy and can be washed after the season!