 I’ve had questions concerning the mirror I put in my recent Sweet Master Makeover HERE. I wish I could tell you to go to a certain store and buy it but I got it at a yard sale last summer. It was someone’s medicine cabinet mirror that was turned into one that could hang on the wall! I bought it for $5, wahoooo!

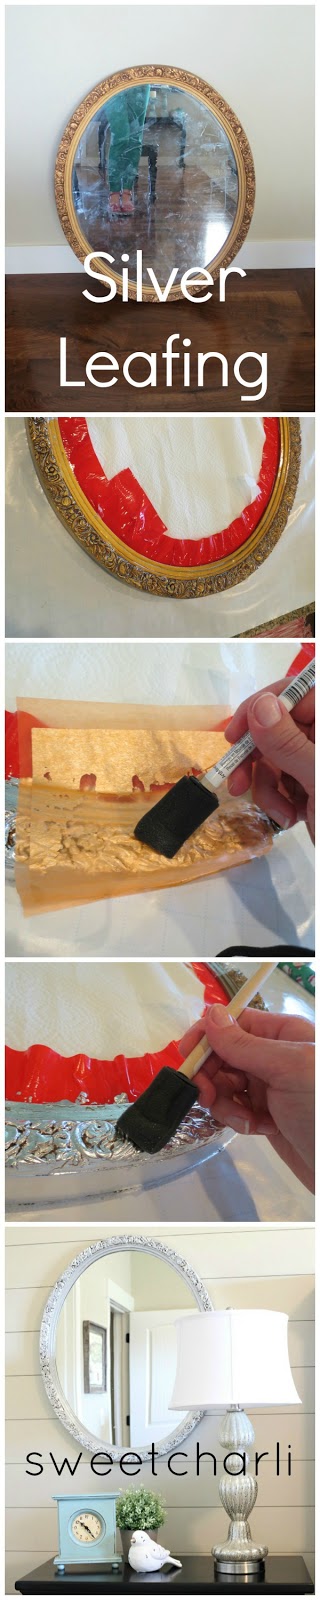
This mirror started out gold. Not like, pretty, trendy gold, but a really ugly, dull gold. I needed it to be shiny and silver. In the past, I would have went and bought metallic silver spray paint and called it good. But metallic silver spray paint doesn’t give you that shiny luster of antique silver that I wanted. So, I called up my friend Mandi because I am not very experienced in the spray paint department and she is a pro at re-purposing any and everything! I told her what I wanted to do with this mirror and she told me without hesitation to use Silver Leafing!
What? How am I a crafter/DIY-er and have never used silver leafing? Holy cow. it is awesome! After using it for the first time, I quickly learned that I could be addicted to the stuff. It is really easy and makes a huge transformation on the project you’re doing.
Here is a tutorial in a nutshell.
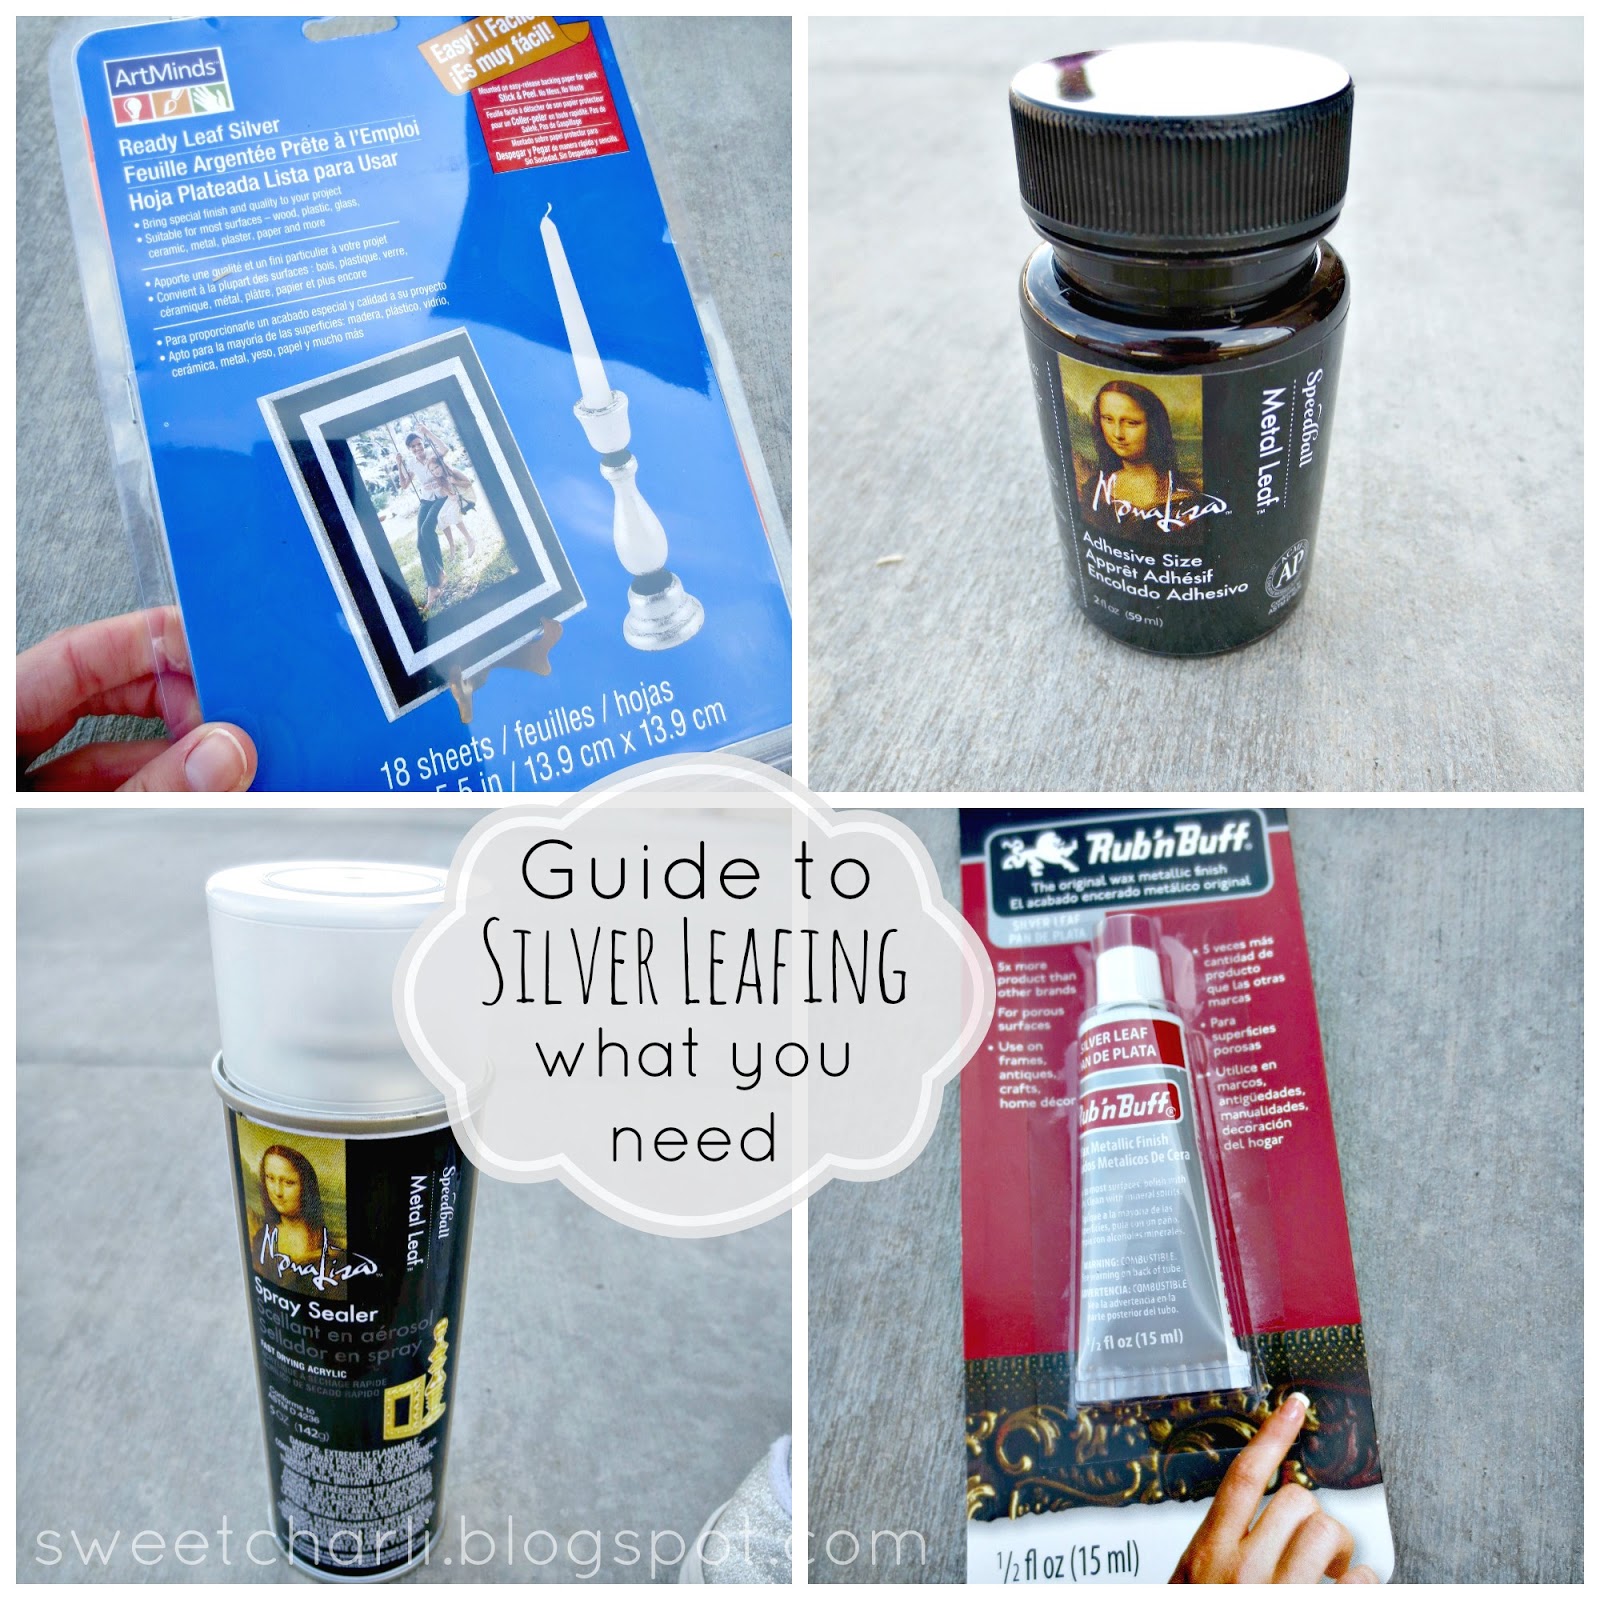
I went to Michael’s and purchased Silver Leafing sheets, Metal Leaf Adhesive, Metal Leaf Spray Sealer, and Rub’nBuff – also tipped to me by Mandi.
You need to first make sure your surface is free from dust/dirt.
Next, you will brush on the adhesive to your surface. Tip: if you are doing a large surface, start with maybe half so that the adhesive doesn’t totally dry before you get to it with the leafing. I did half of my mirror at first, then the second half. You will wait about 30-40 minutes until the surface becomes tacky.
Then you will start leafing! This is the fun and awesome part! I love seeing how it works! Simply place the paper on the surface and lightly brush with a clean, foam brush. Peel the paper away and then with the clean brush dab the leafing on so that it becomes flat and flush.
As soon as you cover your whole thing with leafing, add a little Rub’nBuff on with your finger. I don’t suggest doing this to your whole surface as it will make it all dull and take away the luster. Basically what Rub’nBuff will do is add some antiquing to it. I suggest rubbing it into some of the crevices and corners, etc. Tip: a little goes a long way!!
After you got it looking how you want, spray the sealer on to make it shiny!
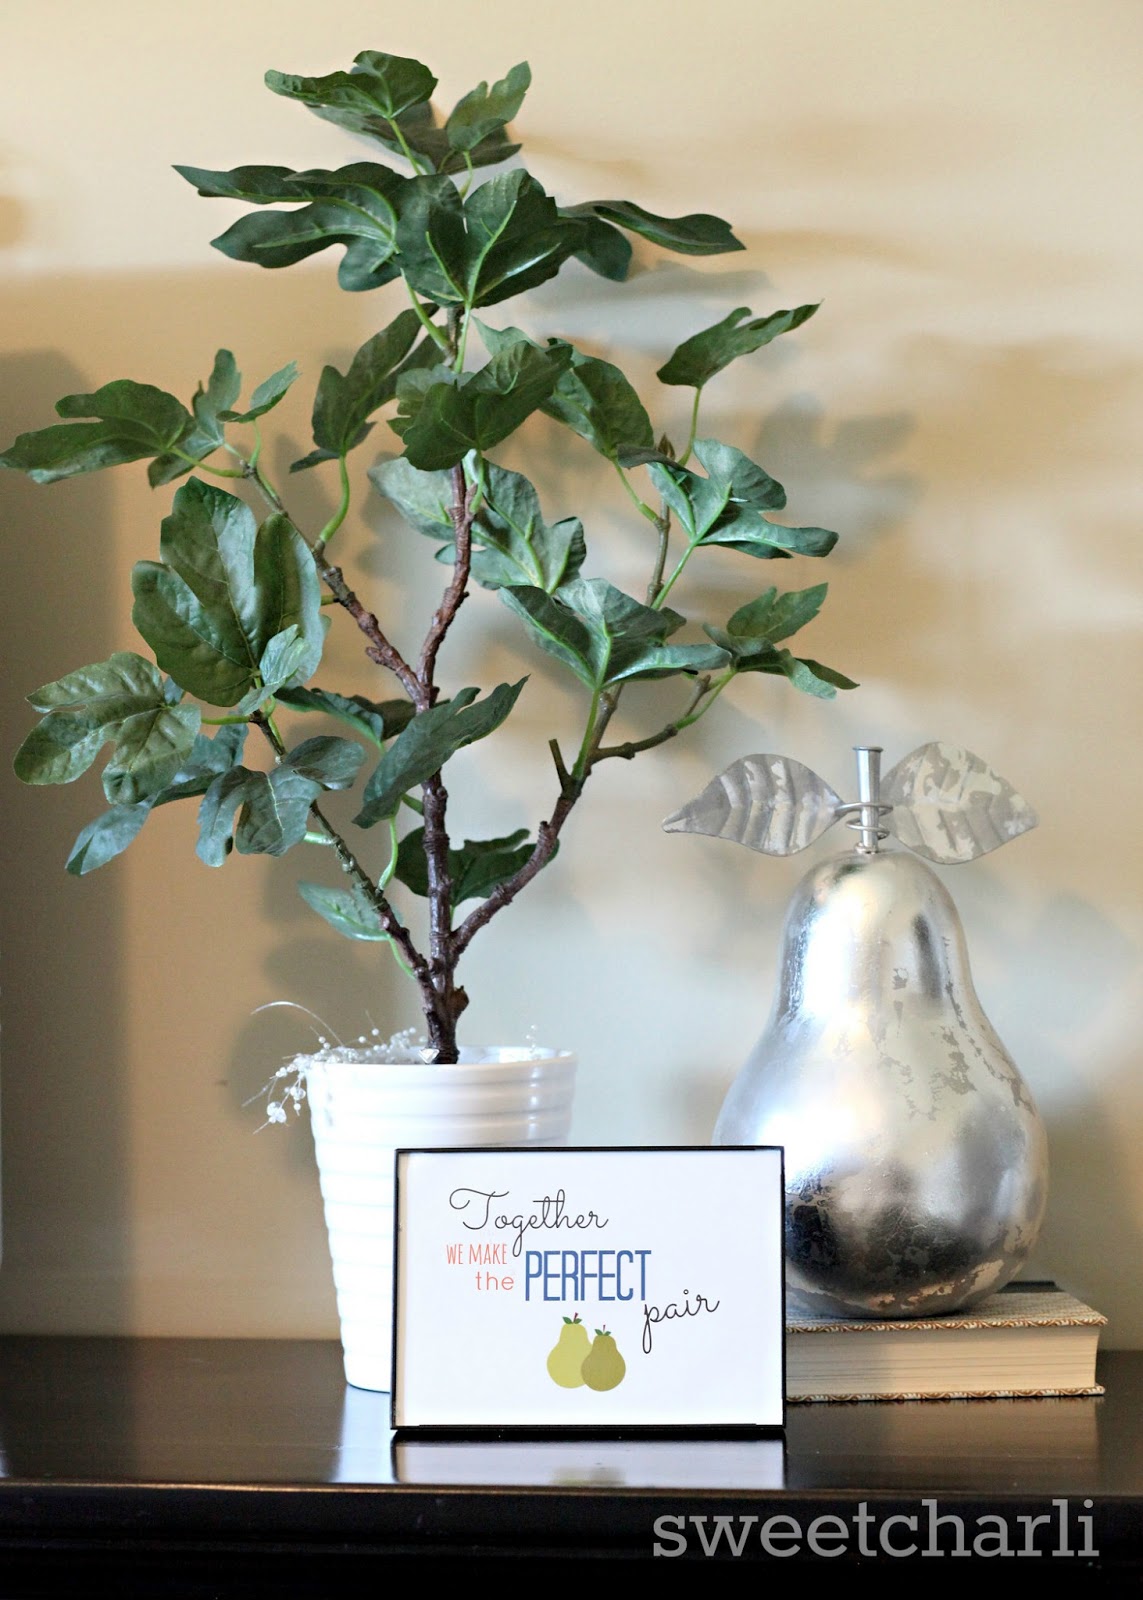
I used almost a whole package on this entire mirror which I thought was great! I even had enough left over to do the pear found in my room, also! I love how it turned out and look forward to using Silver Leafing on a lot more things! 🙂


That’s a great idea!!
http://allieosh.blogspot.com/
It looks really nice! I really like it! You did such a great job. I really like having mirrors around my house. I feel like it makes my house look a lot bigger. I have a gold mirror at home that I really like. By looking at your posts, I think you might like a lot of stuff from Worldtohome.com website.
ya thats grt website…..