
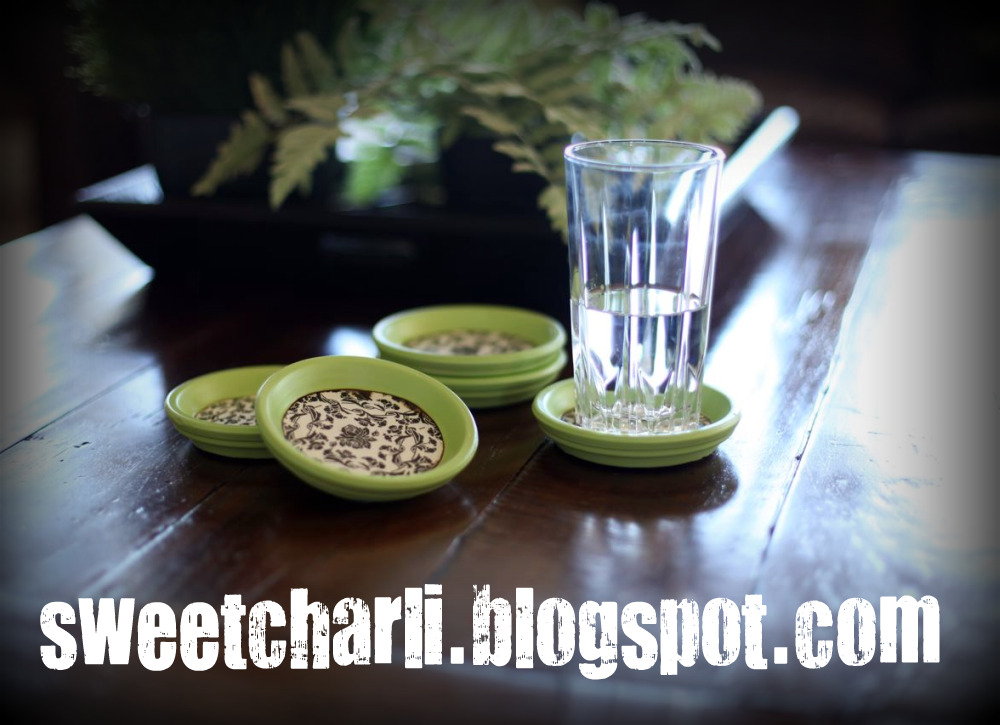
Do you use coasters? Well if you don’t, you will want to now! These are so fun and very easy to make! If you don’t use them, at least they make a cute coffee table accessory!
WHAT YOU NEED:
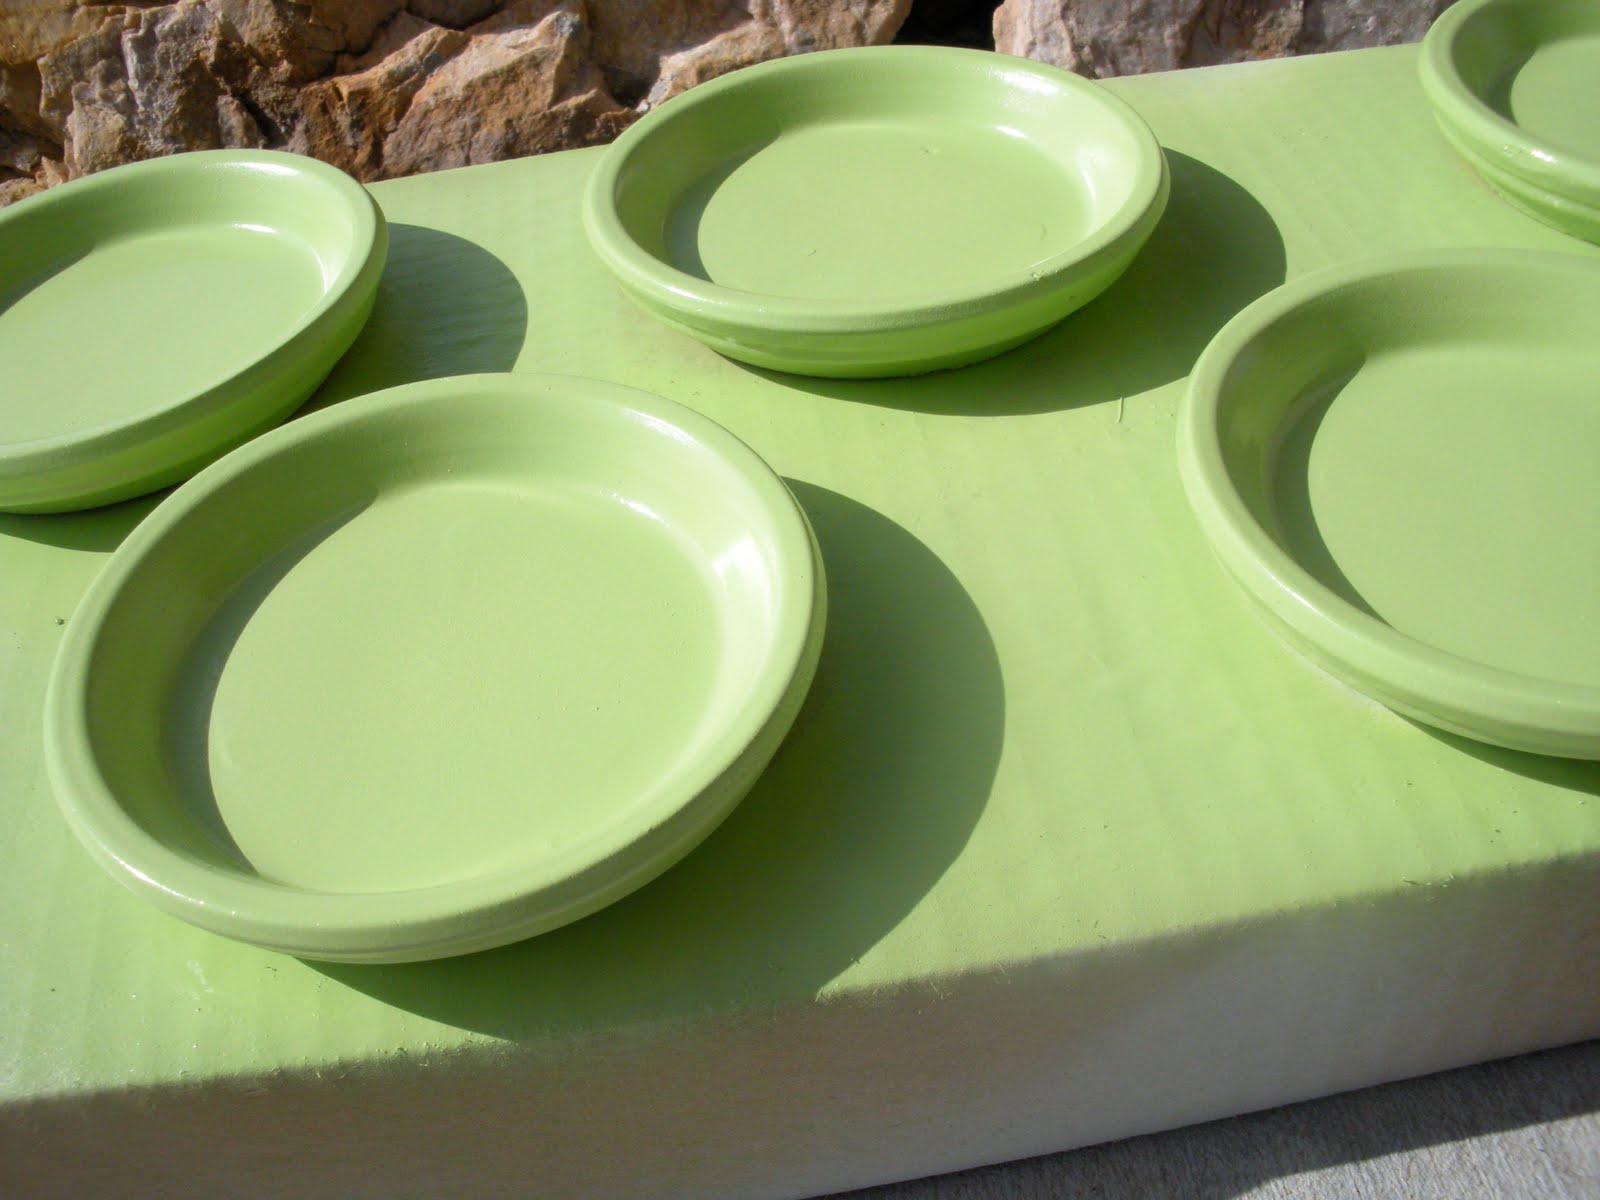
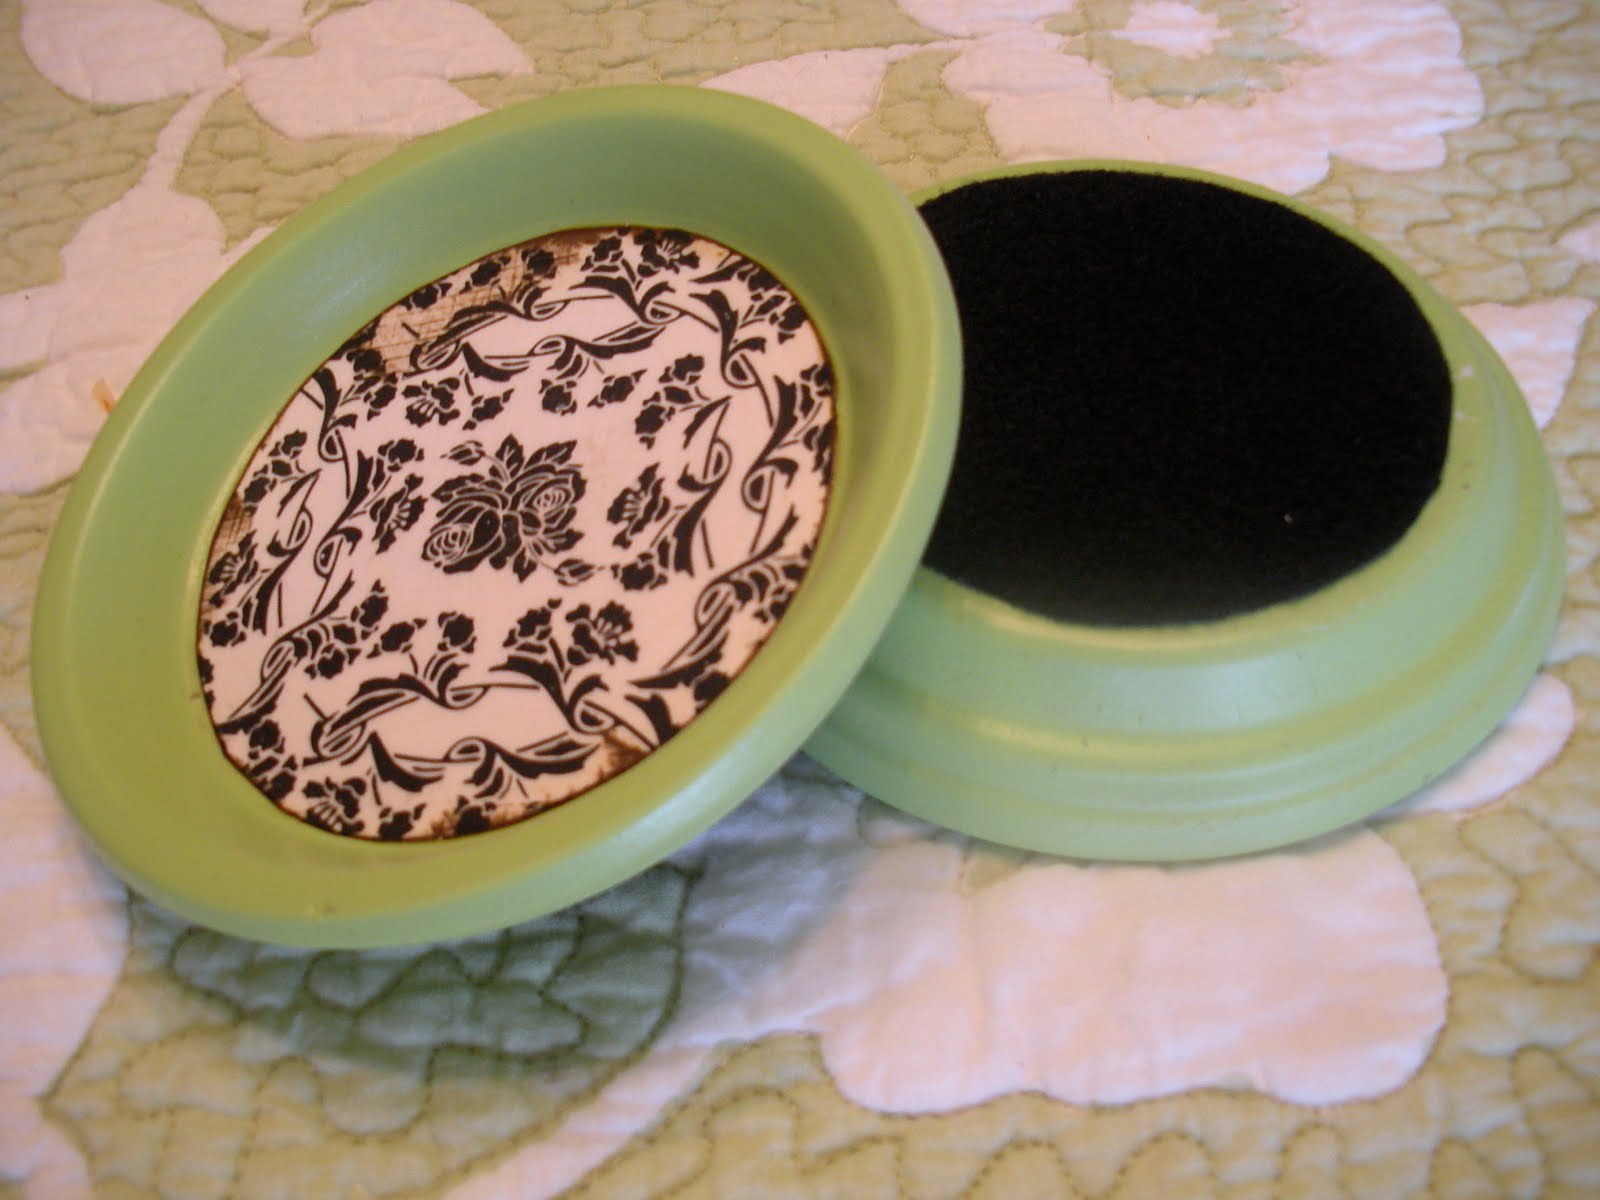
4″ terra cotta saucers
Spray paint-primer
Spray paint-color
Spray paint-sealer
Scrapbook Paper
Distress Ink
Mod Podge
Felt
Hot Glue
Here is a live demonstration first:
First, primer and spray paint your saucers and let dry
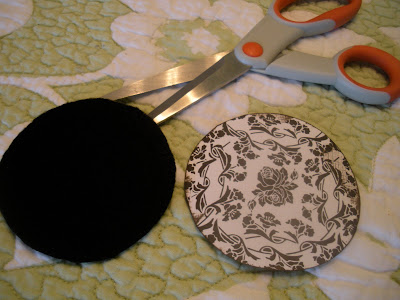
While drying, cut about a 3″ circle out of both your paper and felt, enough for each of your coasters. (I just happened to have a drinking glass with a 3″ top that I traced)

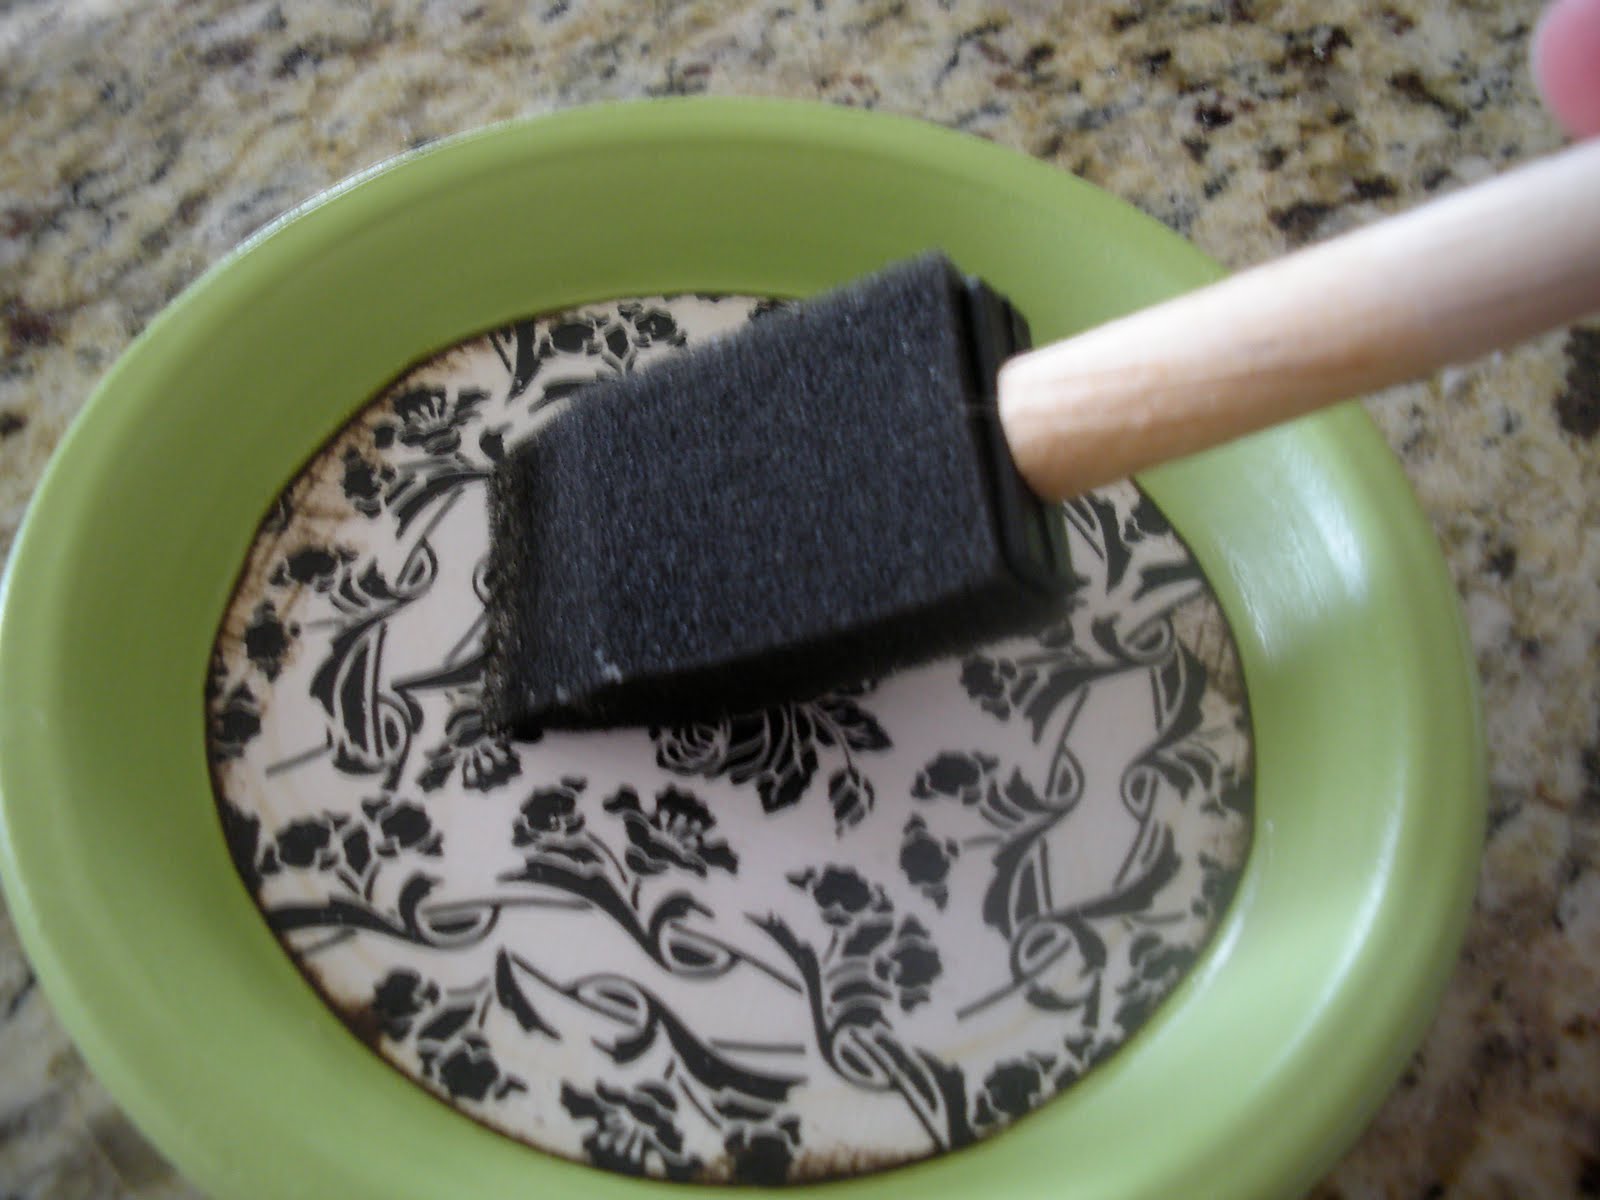
Then, when your saucers are done drying, mod podge the backs of your paper circles, and place them in your saucer dish. Let dry a few minutes.

Now you can mod podge the tops of your paper circles. Try not to be sloppy with this step, keep the mod podge on the paper as much as you can. But make sure you seal the edges of the paper really well.
Then when the mod podge dries, you’ll want to spray the whole coaster with your sealer (polyurythane) spray paint and let dry completely.
Now you can hot glue your felt circle to the bottom of your coaster!
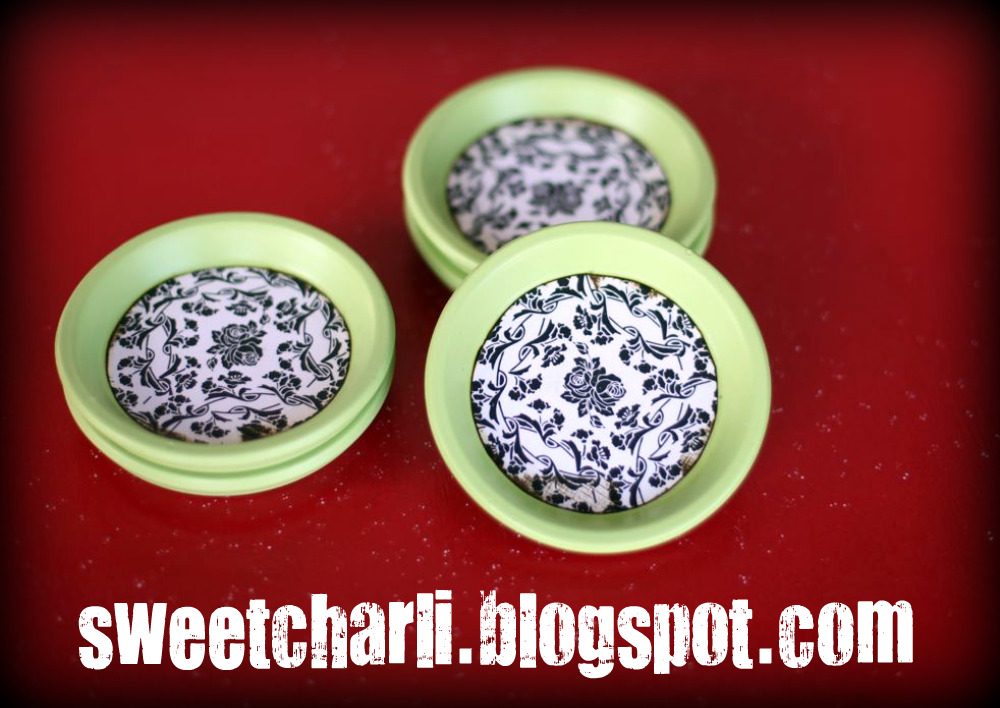
And Wahlaaaah!
Wasn’t that easy? Here are a few reasons why you should make your own coasters rather than buy them:
1. They are cheaper! I made 5 coasters for about $5. I saw a set of 4 in Pottery Barn, and they were $30!
2. You can make them to match the room you will be keeping them in. It’s so hard to find the right coasters for your home when you are a ‘matchy’ person!
3. You can make as many as you need! If you were buying coasters, and they sale in a set of 4, but you want six – you would have to buy 2 sets. Why buy when you can make?
MORE TERRA COTTA LOVIN’:
For Terra Cotta Cake Stand, click HERE
For Terra Cotta Serving Trays, click HERE
Enjoy your coasters!
LOVE, KAMI


I absolutely LOVE this idea!!!
=)
Oh I love these! What a great color and paper choice too!
What a fabulous idea! I am going to have to makes some of these!
Such a great idea, love it!
So cute. I love original ideas. This one is fabulous!
love this idea great project
I love these! I saw you on Studio 5 this morning and you were great. Thanks for all the great ideas. I am a new follower.
Tamber
colorfulcravings.blogspot.com
What an awesome idea!!
I saw you on Studio 5 and loved this idea! Thanks for sharing!
You are FABULOUS!!! What a fantastic idea! I am going to go get the supplies right after work!
You did great on the show today! What a cute project.
Fun stuff! You did great today!
I am so making these! Thanks for the great tutorial! You did a great job! 🙂
~Amanda @Looking Glass Jewels
These are Oh, so cute and I love the colors you chose! Thanks!
What a great idea!!! I love it, and I can’t wait to make one…or four of my own. ;o)
Hey Kami! I saw you on Studio 5 yesterday too so when I saw your thumbnail today on We Did It! Wednesday I knew just who’s they were! I really love these, especially your green and damask combo.
p.s. Your hair looked great yesterday :).
Oh these are just great! We always need coasters in southern CA, so new, cute coasters are always great! Thanks for the great idea!
I also saw this on Studio 5. Loved the idea.
Oh yes, I will be making these!
Brilliant!!! I’ve been trying to come up with a cheap, easy way to make a few coasters for my office and voila, here it is! Fabulous!
what a great idea! very unique!
Thanks for linking up to Hoo’s got talent! These are one of my favorites!
How smart. Those are really cute. Nice colors too.
I love these! I will be making them for my back patio. Thanks so much for the inspiration. 🙂
This is such a fun idea! I do use coasters and can’t wait to try my hand at some of these….thanks for sharing!!!
Yep, now I need to make these!
Allie
Alliemakes.blogspot.com
What a fun idea!!! Thanks for sharing the how-to’s!!!! 🙂
Found you via Tatertots & Jello today. Love these coasters. You have an adorable blog!
–Teresa @ http://www.ItIsAGoodDay.blogspot.com
LOVE these… how cute would these be with a monogram and all packaged up as a wedding gift? They are beautiful!
Very cute! Time to head out to home depot:) Love your blog!
There are brilliant, what a fabulous idea!
K, these are amazing!! I’ll be sending my readers your way!
these are too stinkin’ cute!…guess what i’m going to be making today!…love love love ’em!…
im so making these for the wedding shower im headed to this weekend! thanks!
I found you on “U create” and I love your idea! I am going to make some! I am also thinking Christmas gifts-to be added to a gift basket. Thanks for sharing!!!
love, love, love!! Great idea!
I just made some coasters last week but these are so so so cool!
I might have to make more.
You did a great job – thanks for the how-to!
Alyssa
http://lifeoflyssie.com
I am new to your blog and I am so impressed with these ideas! What a great way to use some inexpensive materials. Thanks for the tutorial!!
Cute coasters! Love them.
These are so perfect! I’m always using coasters – I just need to make some of these.
This is such an amazing idea! I have been putting off purchasing coasters and now I know why! Kismet…
Okay, these are genius. And the Studio 5 thing is so cool too! I have a goal….one day!
Anyway, what I want to say is I’m going to make these for my Father-in-Law for father’s day. (Only Beatles style) Cause he’s obsessed with both The Beatles and coasters. (no, I’m not kidding. It’s the sad truth.) Anyway, when I make them, I’d like to post them on my blog…with full credit going to your amazing idea, of course. I hope that’s okay.
Thanks for solving my holiday dilema. He’s probably the hardest gift person in the know universe!!
These are great! I’ve seen lots of “crafty” coasters and none of them have inspired me to start using them… but you were right… I kind of want to now! 🙂
THese are so adorable…adding them to my “want to do” list…with a link to your blog!
Thanks for sharing them:)
LaKeta
Hi Kami! I wanted to let you know that I loved your tutorial for these coasters. I made some today!! They were super easy and turned out great. Thanks for the wonderful idea! http://paisleypinkpolkadots.blogspot.com/2010/07/diy-coasters.html
Jennifer
Great tutorial! I LOVE this idea. I put the ones I made on my blog today, with a link to your post. Thanks!
http://lifeofamodernmom.blogspot.com/2010/09/terra-cotta-coasters.html
New to your blog! Found you from a friend who tried this! Both are SOOOO cute! (Yours and hers!LOL) Have a great day!
This is such a great idea – thanks for the tutorial!
[…] and buy your terra cotta saucers for cheap and make some coasters for fall! Check out the tutorial HERE! « the ‘official’ logo!!A Little Sneak Peek: […]
[…] Source : kamiwatson.com […]
[…] DIY Terracotta Coasters – No one likes dirty stains or ring marks on their coffee tables so why not protect them with these fantastic and original DIY coasters? […]
Could you use fabric instead of paper??