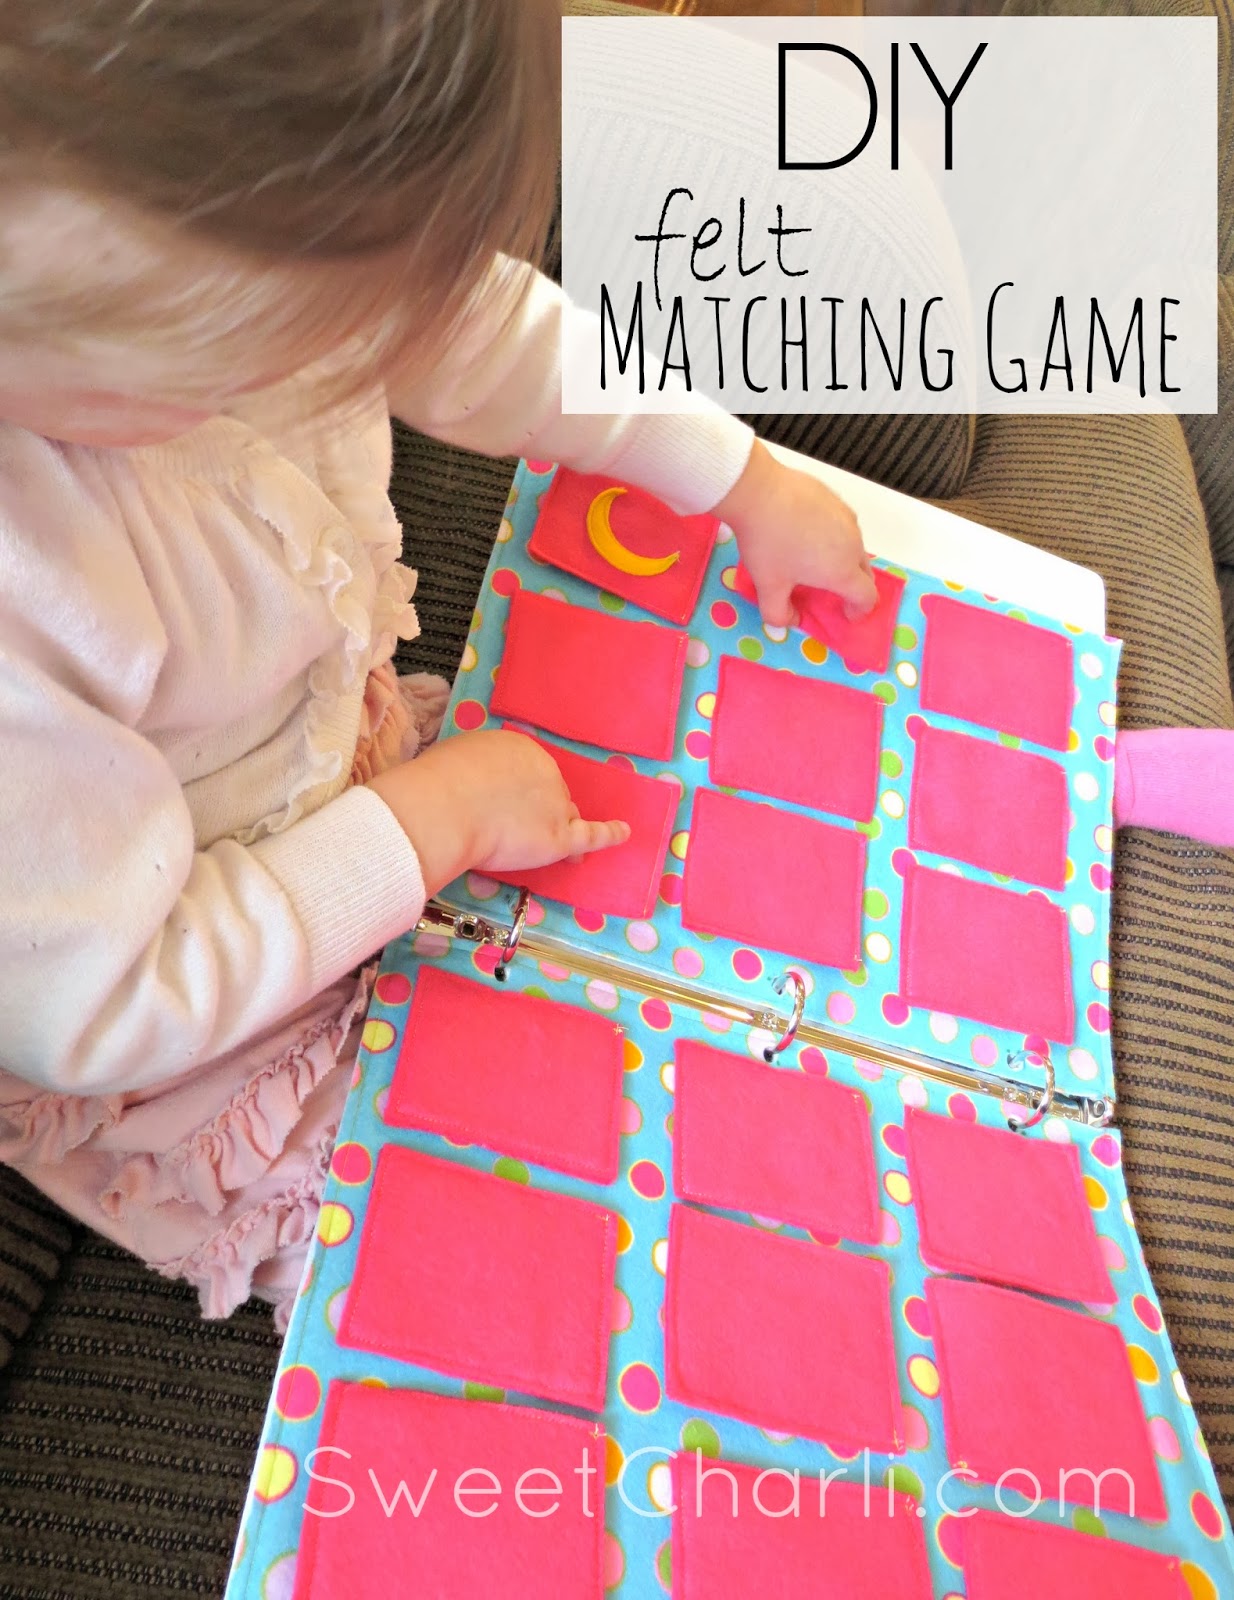
A month ago my family and I took a road trip to California and I brainstormed ways to keep my girls busy and occupied (see more HERE). I put many things together, including this felt matching game! They absolutely loved it, and you can make your own too!
Along with this felt matching game, I included items from their Busy Bag that I made a while back. I will be adding the matching game to their busy bag for church.
This quiet page is made out of felt. It requires sewing and iron-on techniques.
You will need:
4 sheets of same felt (8.5×11) for base page
4 sheets of same felt (8.5×11) for felt cards
Your choice of colors for iron-on shapes
Wonder Under (iron-on paper)
Cereal Box (optional)
Velcro (will only use the stiff side)
First, I cut a total of 18 shapes out (9 shapes, two of each) in my different colors of felt. I cut my shapes out on the Cricut Explore which made it super-easy.
I then transferred them all to Wonder Under iron paper.
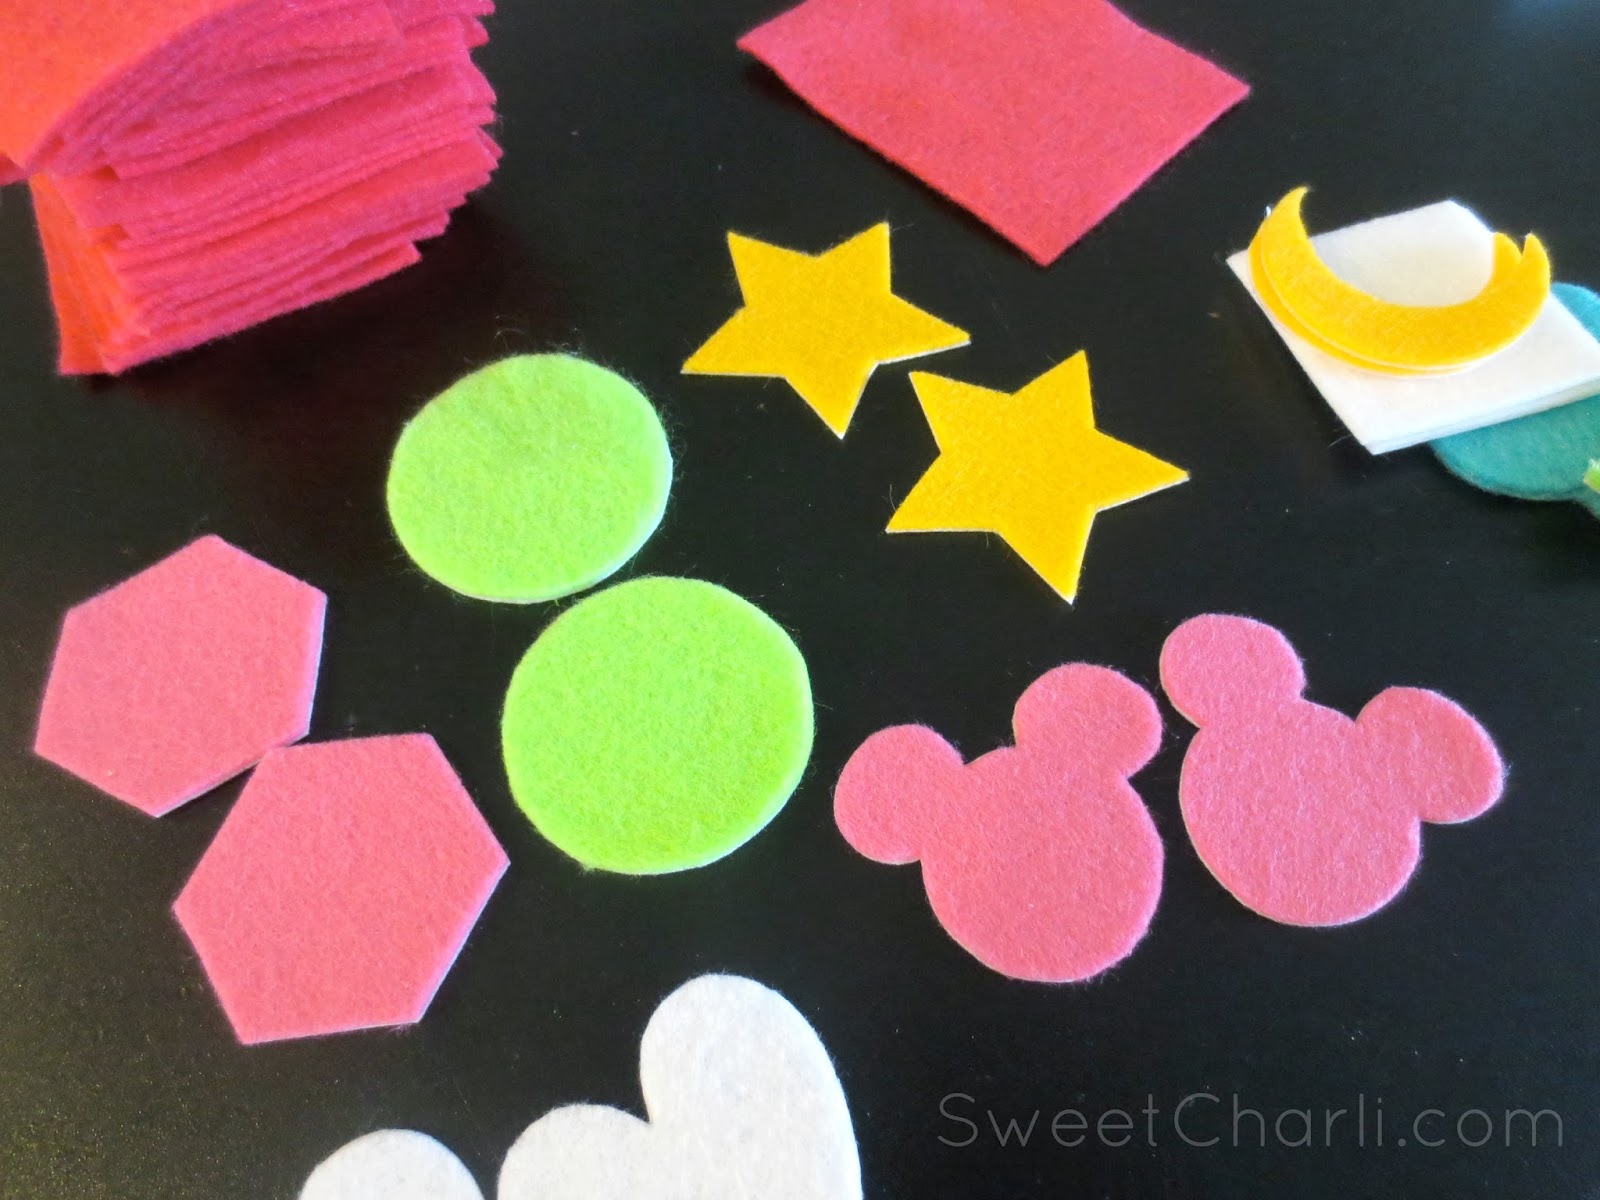
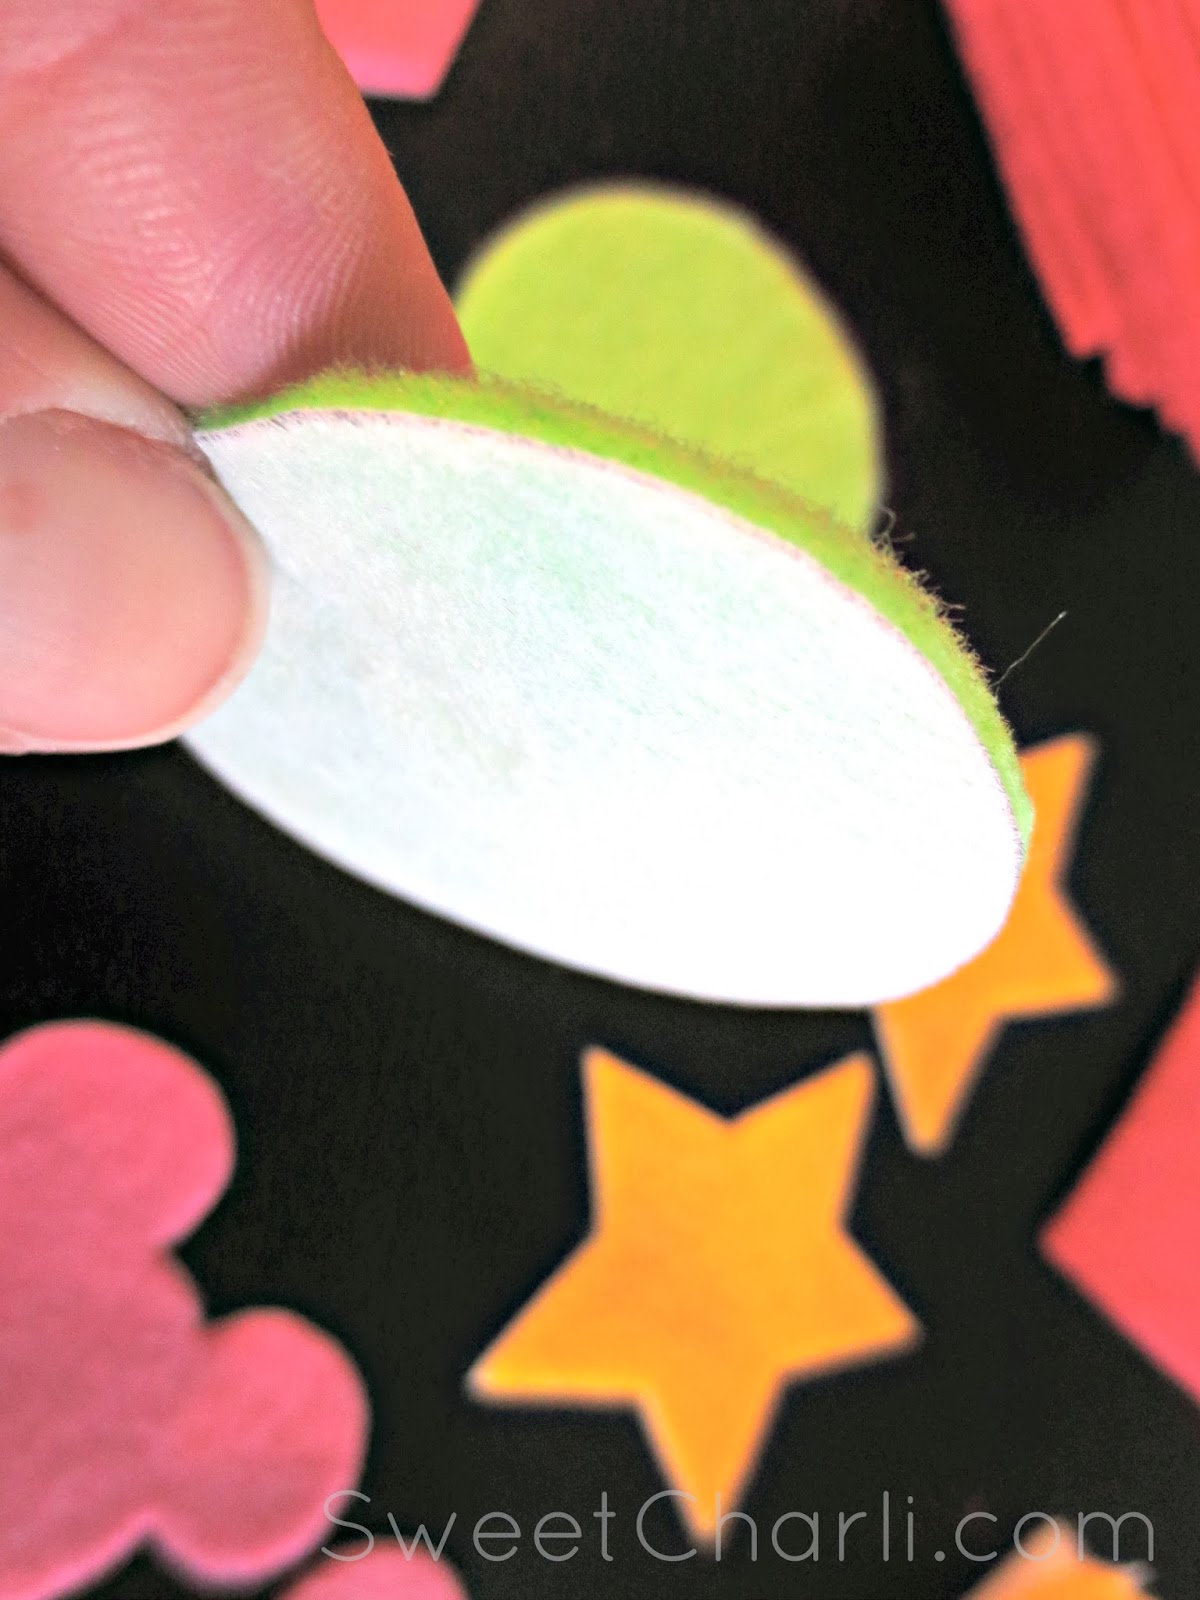
Your shapes will be ironed onto the cards that you cut from the four matching sheets of felt. Make sure you iron on the shapes first, and then sew the cards together. I stitched around my shapes as well to make sure they were extra secure. You will cut out 36 cards total (18 cards double-sided).
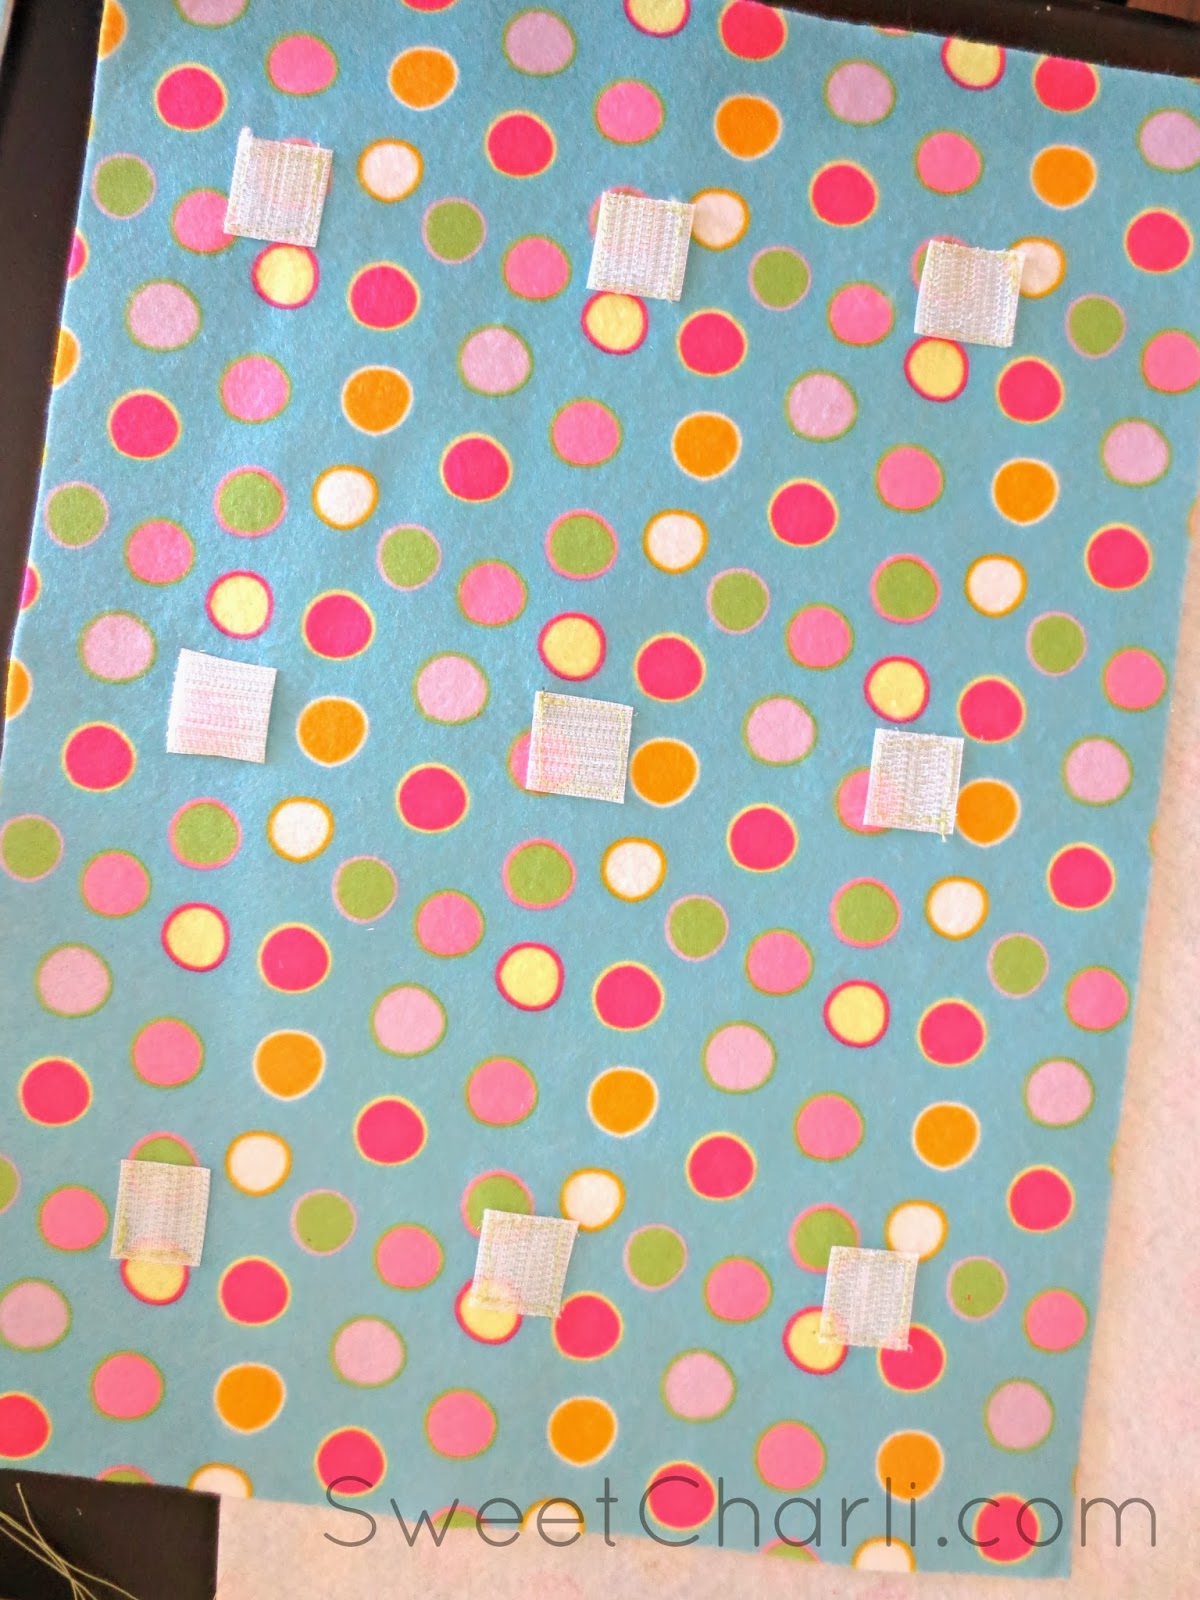
For my page base, I got four 8.5×11 sheets of felt, they were a cute blue color with colorful polka dots. I cut little squares out of the stiff velcro and placed them onto the felt in rows of three on each page (9 total each page). After I had them placed correctly, I sewed around each of them. The velcro helps the felt to stick so that when you are traveling the pieces will not fall as the kids are playing. *Make sure you do this step first before you sew the pages together!
I really wanted the pages to be sturdy so I added a little cardboard in between the sheets to stabilize it better.

To do this I just cut up an old box of cereal to fit inside of my pages. Next, sandwich the cardboard piece between a velcro page and a normal page. You will do this twice so you have two pages.
Then, stitch around them.

I put the two pages in a binder so I needed to cut three holes in each page. I just did that with a normal single-hole punch.
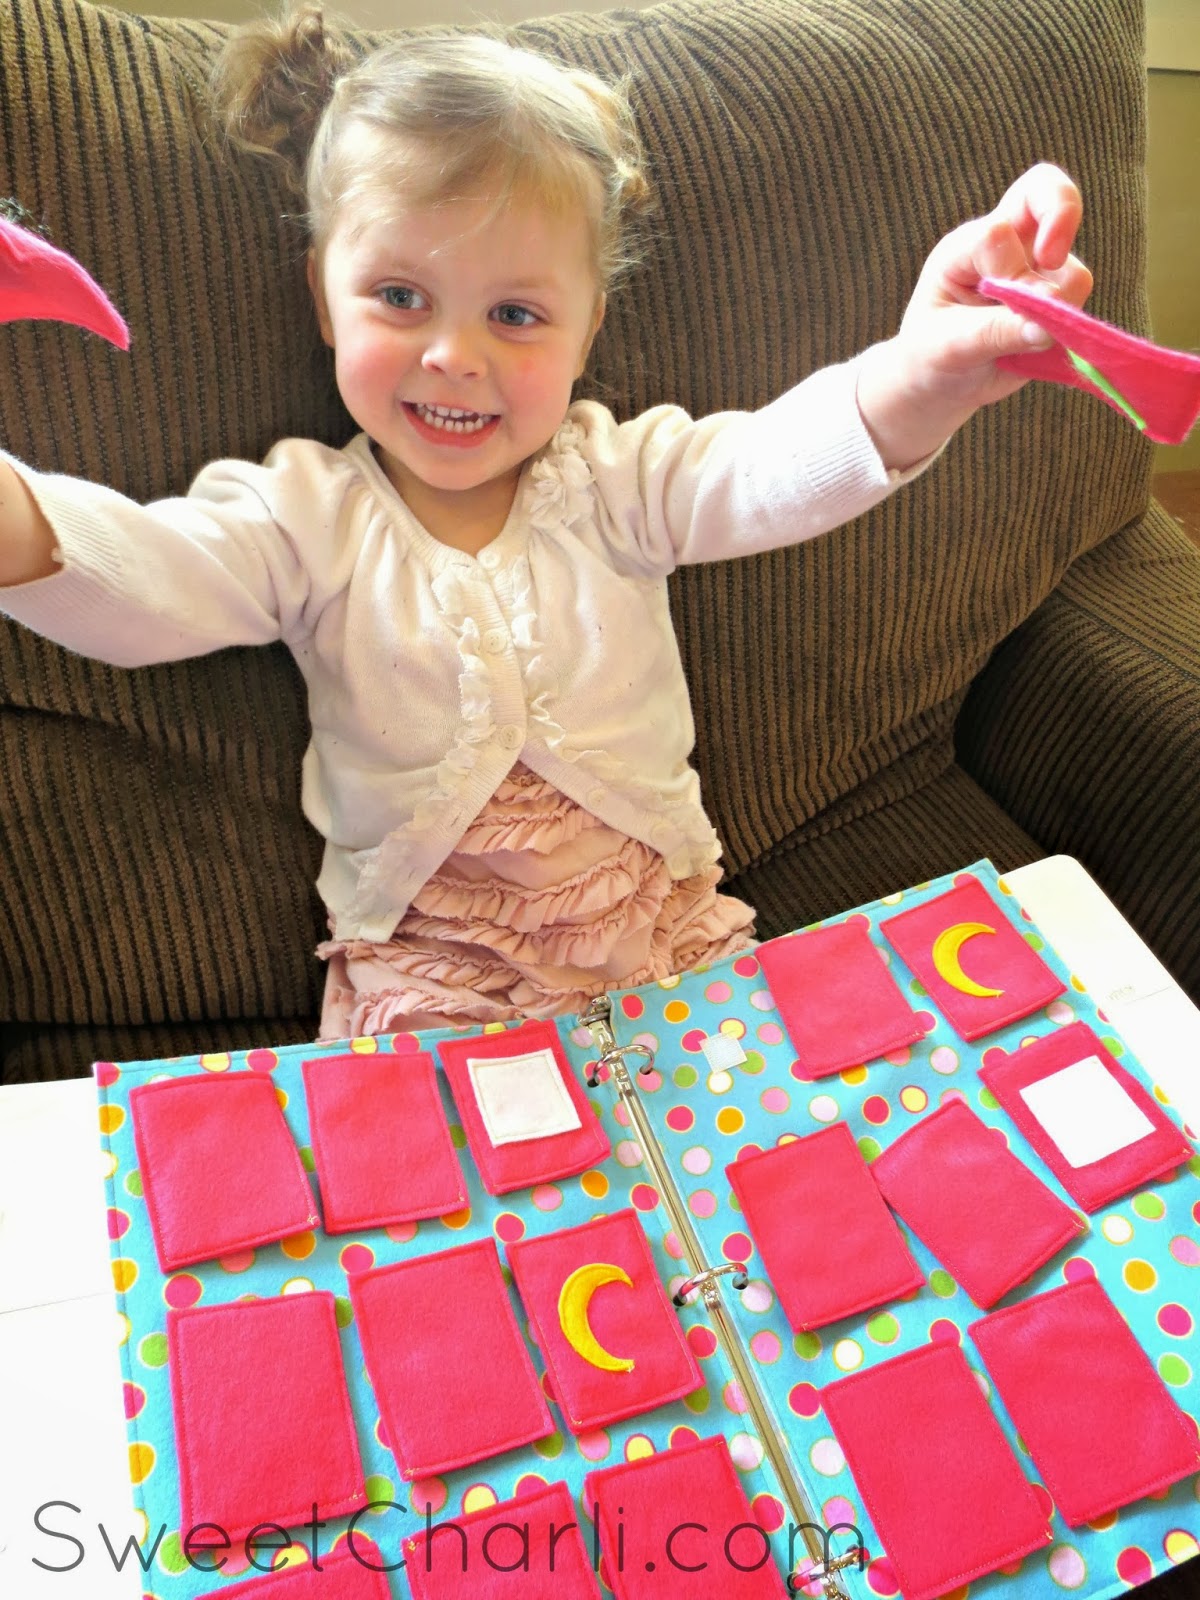
My girls have absolutely loved this new addition to our busy bag!