

I’ve had lots of people asking me about the wooden planked walls I did in my Master Bedroom Makeover. They have commented how much they love them. They ask if it was easy/hard. I was so excited to do my wall this way and had my mind set on it for months. I am so, so happy with how it turned out in so many ways!
There are a few reasons why I love the look of my wooden planked walls:
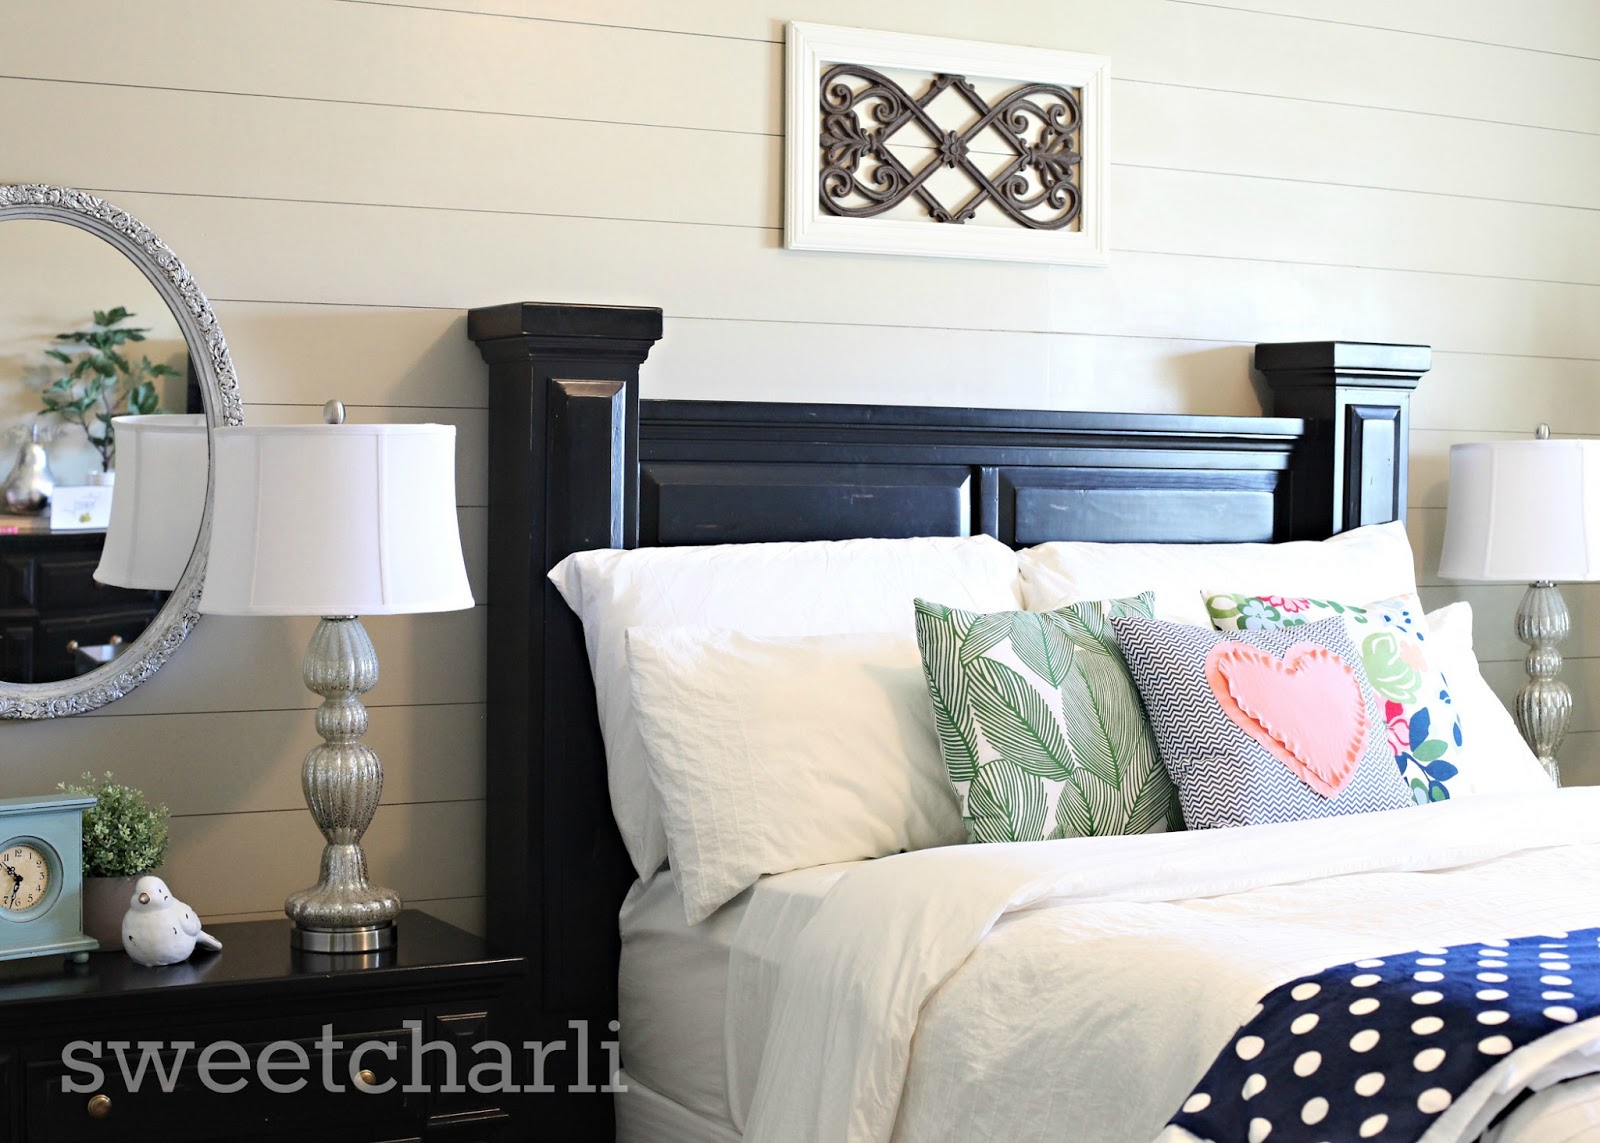
1. They add texture. Sometimes you look into a bedroom and see nothing but painted walls and feel like you need something more. I cannot believe the way this wall has transformed my room. Even though the wall is the same exact color it was before, the texture alone did the trick
2. Warmth. I almost feel like I am sleeping in a cozy beach house now! The wooden planks add a warmth to my bedroom. I don’t know if its the way the light from my lamps shine up on them or what, but it’s super-cozy!
3. Easy! My husband and I aren’t the most handy people in the blog world. In fact, we borrowed most of the tools we used to do this from my brother-in-law! But, we did it, and it was fairly easy! If we can do it, anyone can!
4. Inexpensive. Wooden planking your wall is fairly inexpensive. If you are looking for a big way to transform your room on a small budget, I would say do this. Here is a little tip for ya: if you buy the right wood, you don’t even have to paint it! It’s true. Look at the picture below. If my other walls were white, I probably wouldn’t have even painted my wooden planks. I would have maybe put a light stain on them and some sealant, but I love the look of natural wood.
How do you do it you ask? I actually followed very detailed instructions provided HERE. The only difference is the wall I did my planking on is a huge wall, their walls were quite small. I’ll explain:
I got all my wood/supplies at Lowe’s. They were so, so nice to help us cut the wood too, which was great because like I said before, we are newbies! We bought 4×8 paint ready utility plywood and had it cut into six inch strips. Now, because the wood only comes 8 feet long, we had to use two of them together to fill our whole wall. This created an obstical for us because we were left with a seem down the center of the wall that we had to fill and try to make invisible. It wasn’t as easy as we thought (first-timer‘s brain fart). We ended up having a drywaller come in and fill it for us which took longer and costed more. But, we managed through it. **If you are interested in doing this on a large wall like me, e-mail me and I will tell you what I would have done differently**
Anyhow, after the wood was cut and we brought it home, we then nailed the panels on the wall one at a time with a brad nailer. We used a nickel to space each panel apart evenly and it really went smoothly at this point. After the planks were all up we filled the nail holes and sanded, caulked around the ceiling and baseboards, filled the center seem, then painted. I used a brush to paint because I wanted to keep a ‘wood’ look rather than a rolled look.

I really struggled on deciding which color to paint the plank wall. A part of me wanted to do white, another part wanted to do something crazy like green, and as I mentioned earlier, I love the look of natural wood. But, I decided to do a nice, neutral tan, and I think it works out perfectly for the look I was going for. (plus, I still had a gallon of tan paint from the rest of our house downstairs…moneysaver!) I felt like I really got what I wanted by putting up the wooden planks because it gave me texture, but still warmth. I love the way the planked wall looks up against my newly, white-painted ceiling!
I still have wood left in my garage. I am contemplating putting up a wooden plank wall in my half bathroom...um, just have to convince the hubby and I’m pretty sure this last project did him in! I just think I could be addicted to this stuff 🙂


That looks amazing! I have a room that’s just waiting for planking. I just can’t figure out how you work around plugs.
Beautiful bedroom! I am running into the same problem with finding planks long enough for our 13 foot wide bedroom. I’d love to know what you’d do differently other than putty the seam. Please let me know when you get the chance.
Nice! I saw someone do this on HGTV except they cut them in various sizes and gave them a old weathered look with various paint colors almost look like an old quilt.
Hi, your room looks great. My walls are 14′ wide, how do we avoid the seam. Is it better to stager to beams?also how thick are the beams?
Yes! I would definitely stagger the beams in a brick-like pattern. That is how I would have done it differently!
I know this is an old post but I was wondering if you knew the color of tan paint that you used by any chance? I love it!!!
Hi! The paint is called Relaxed Khaki by Sherwin Williams 🙂
You should learn to spell and get your grammar checked before posting!
[…] Download Plan More @ http://www.kamiwatson.com […]