
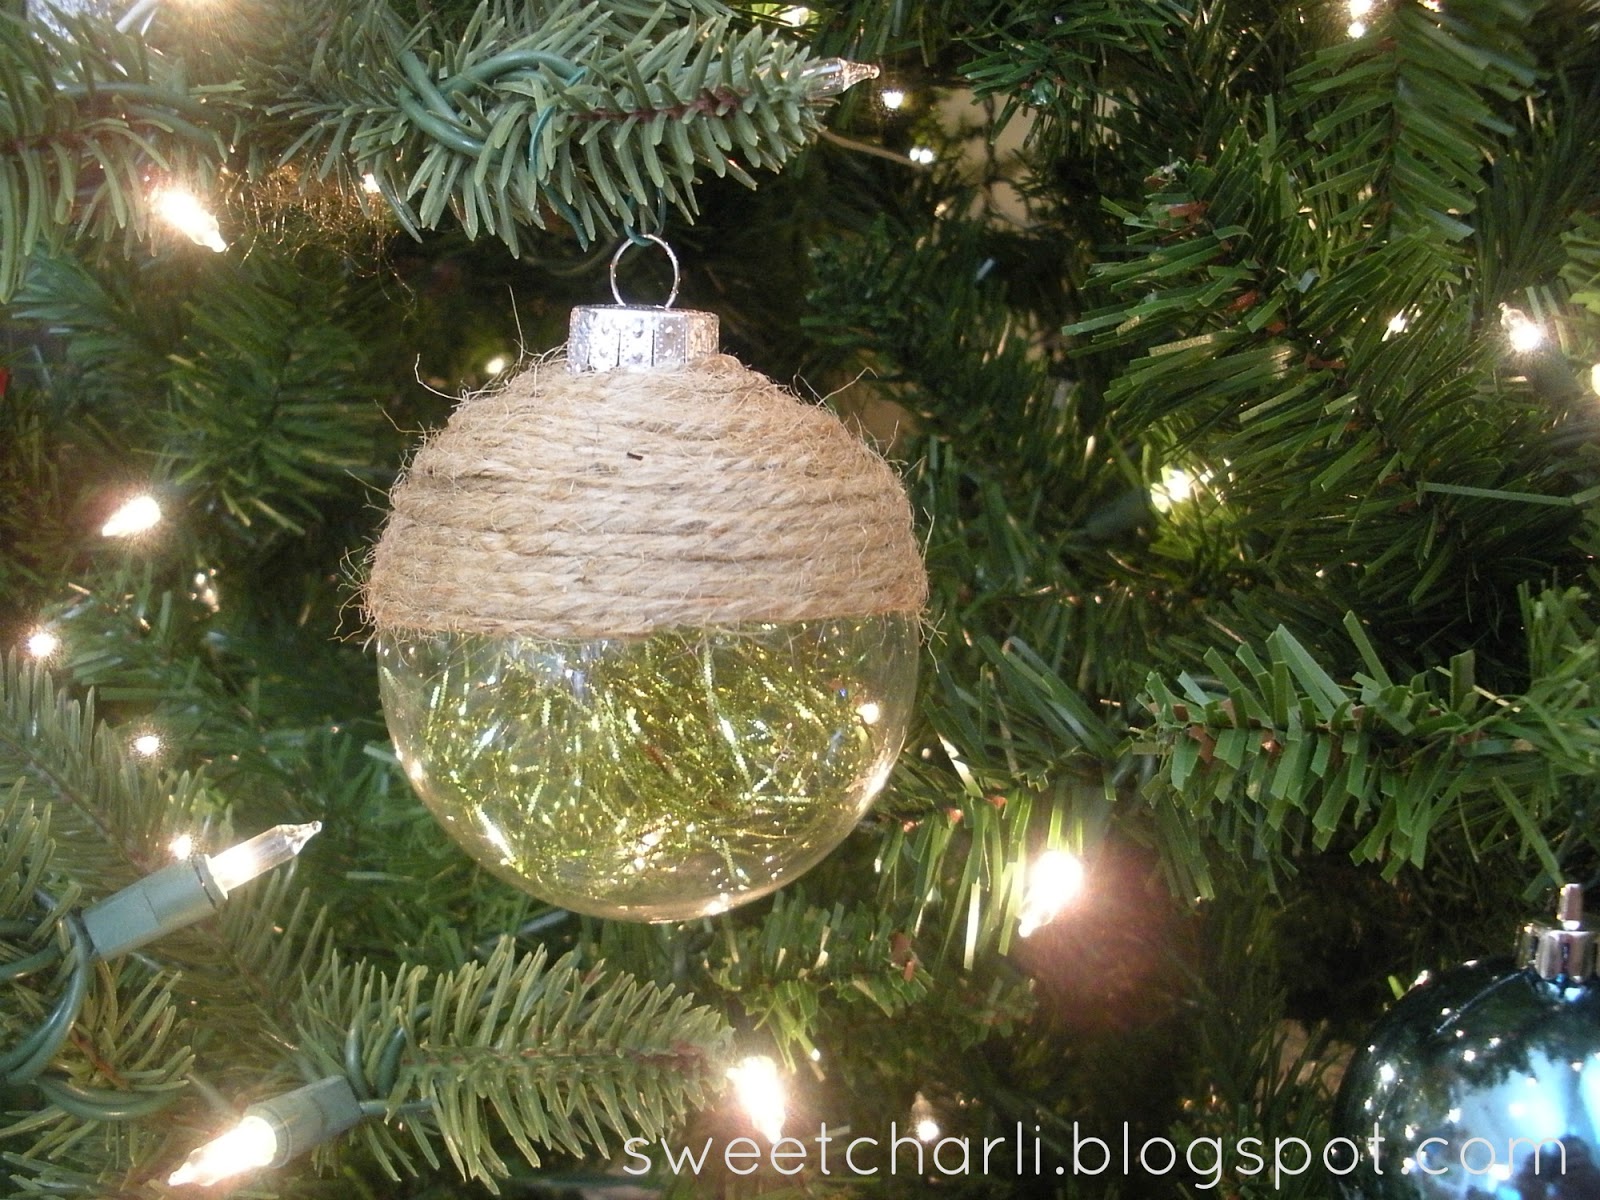
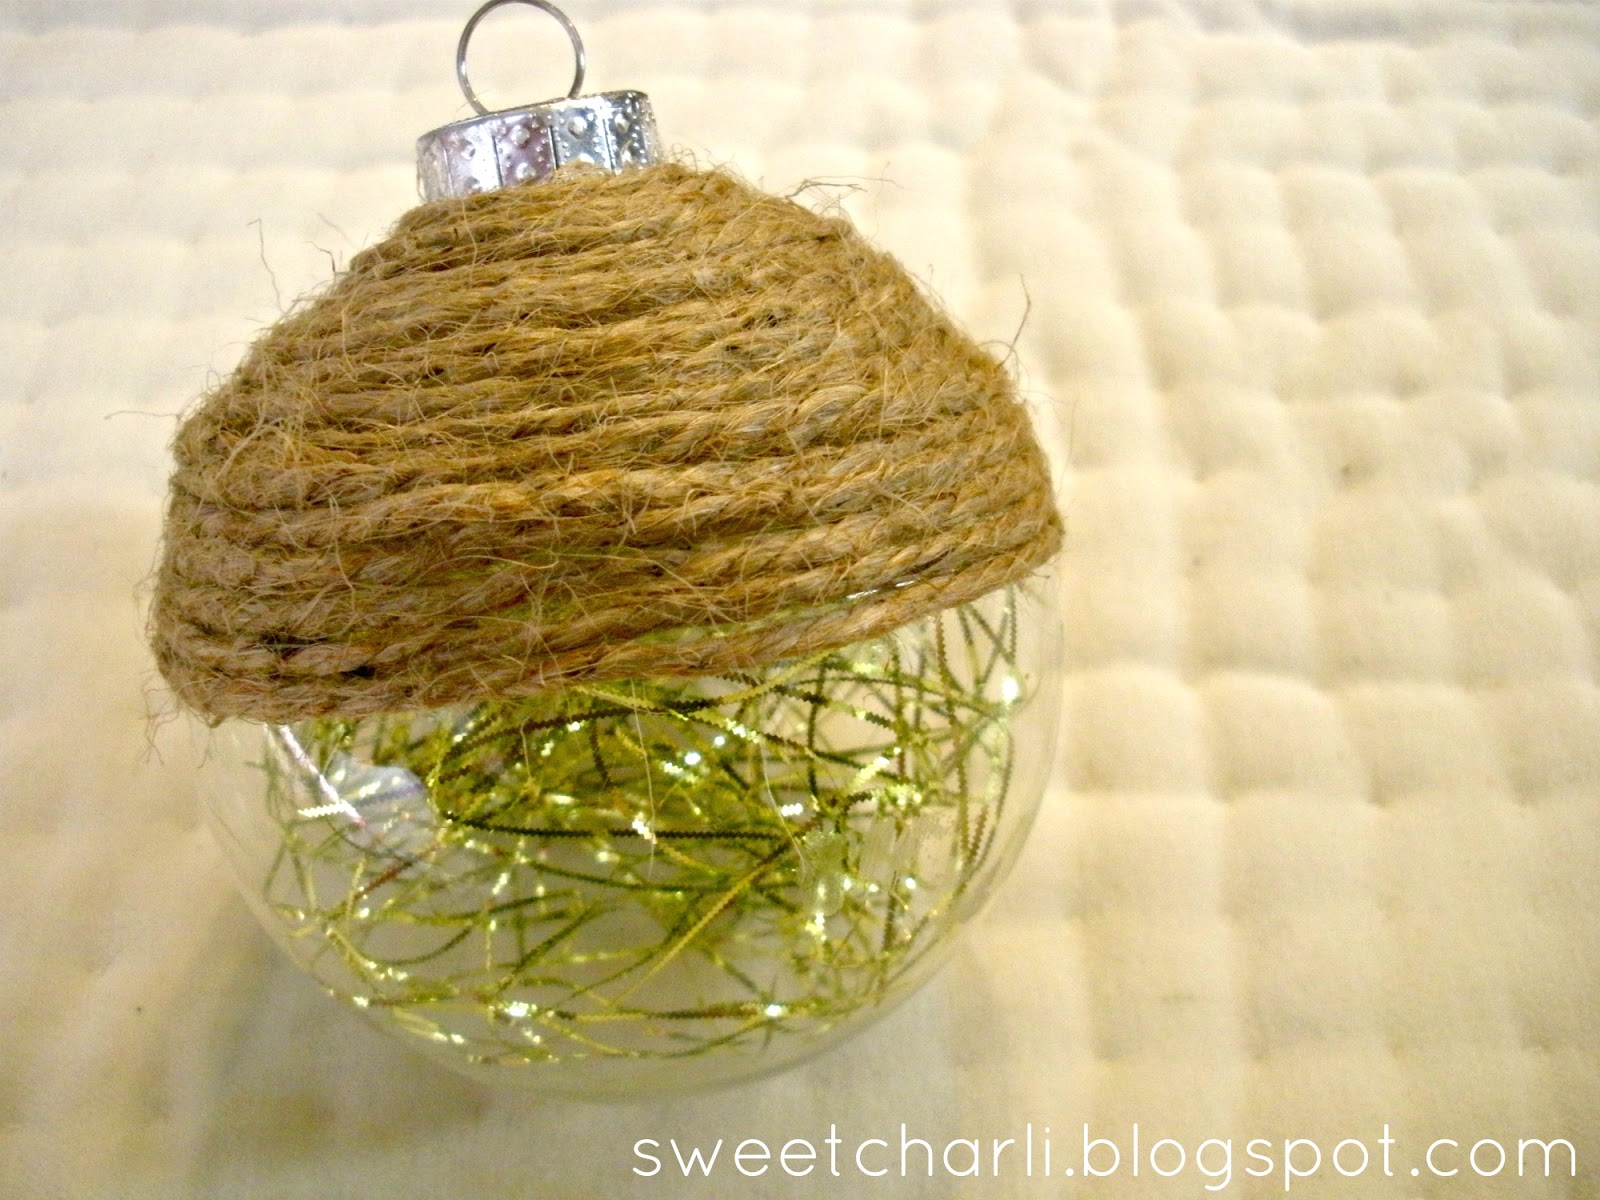
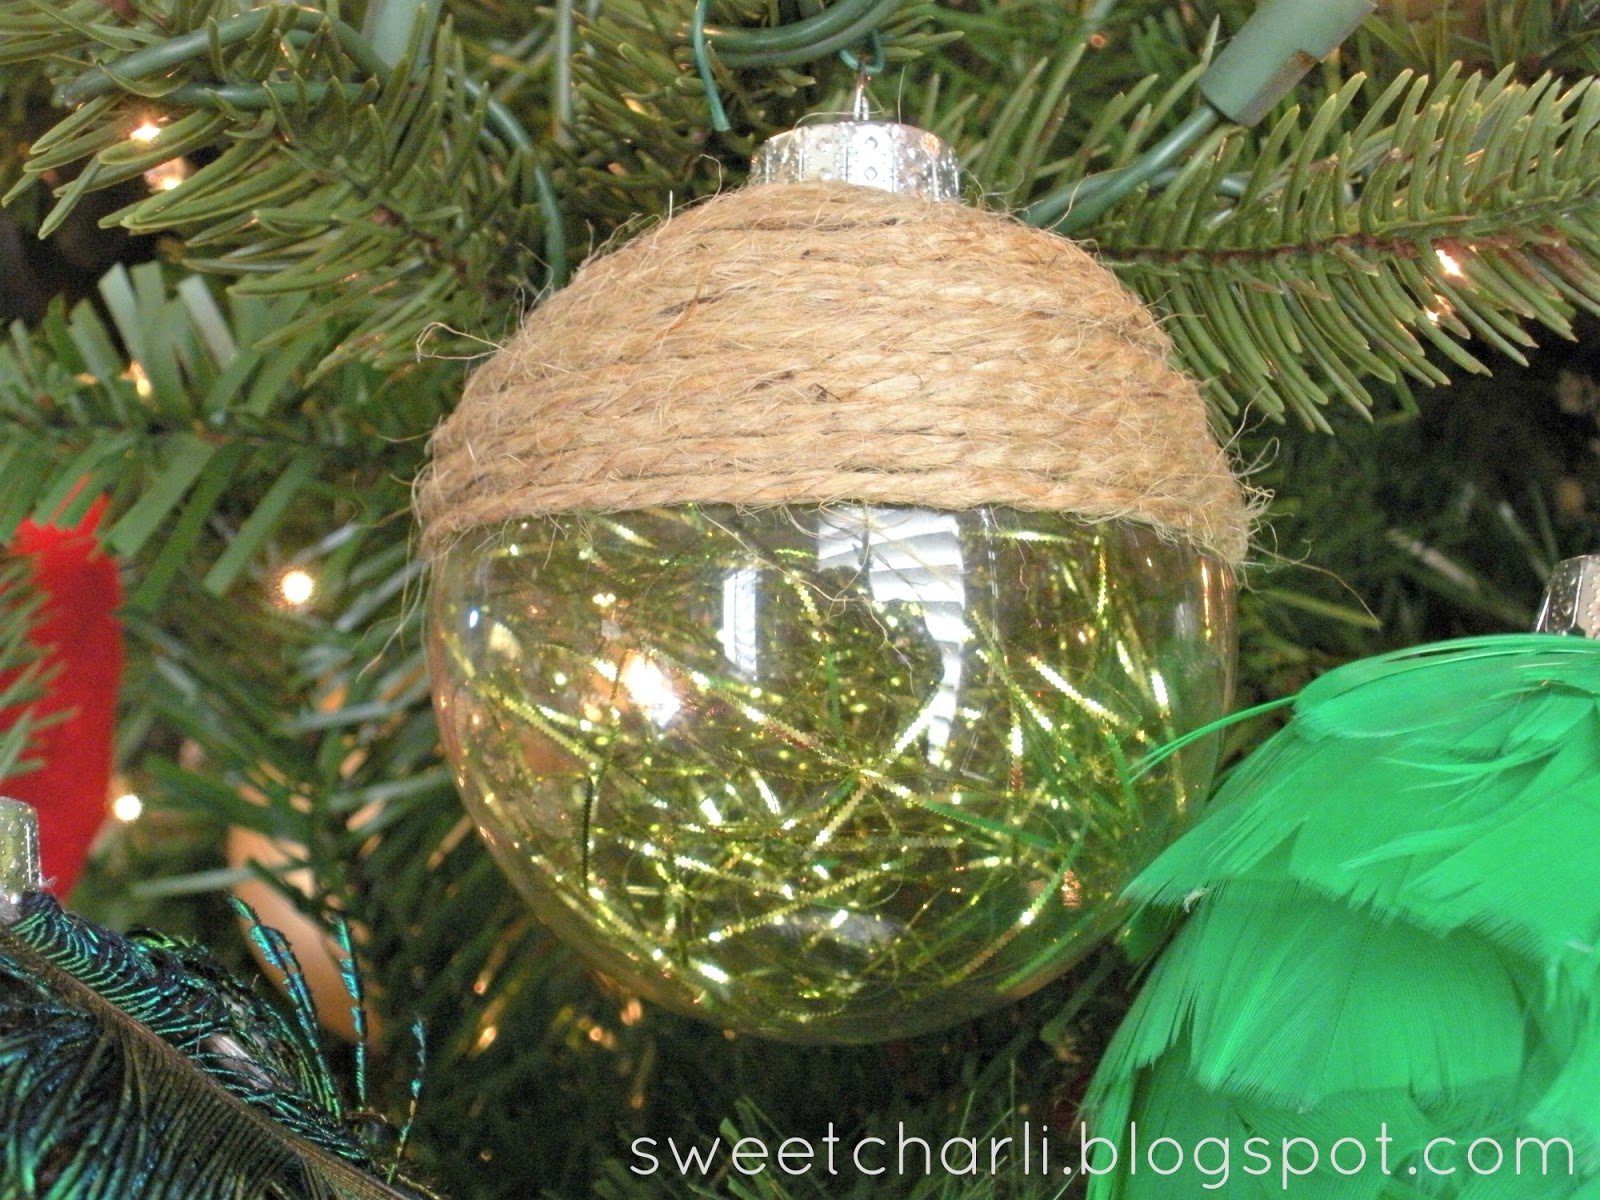
I LOVE this simple, little ornament! This looks so darling on my tree! I love how it combines a natural element with a shiny, bright element! Here’s how you make it:
I used natural jute although I can imagine all of the different possibilities with what twine you choose. Start at the top of your ball ornament right next to the hanger and place a small amount of hot glue on the start of your jute and let dry. Begin wrapping your jute around the ball and occasionally placing hot glue on it so it will hold in place. When you get about 1/3 of the way down your ball, cut your jute and glue. Next, fill your ornament full of tinsel (so many possibilities with colors) by stuffing it down in the hole with a pencil. Put the hanger back on and you are done!
Simplicity


Very simple yet unique. I can’t wait to give it a try. Thanks
Very simple yet unique. I can’t wait to give it a try. Thanks
Just wanted to let you know I featured this project in my roundup of glass ornament crafts here too. : )
-Mel the Crafty Scientist