

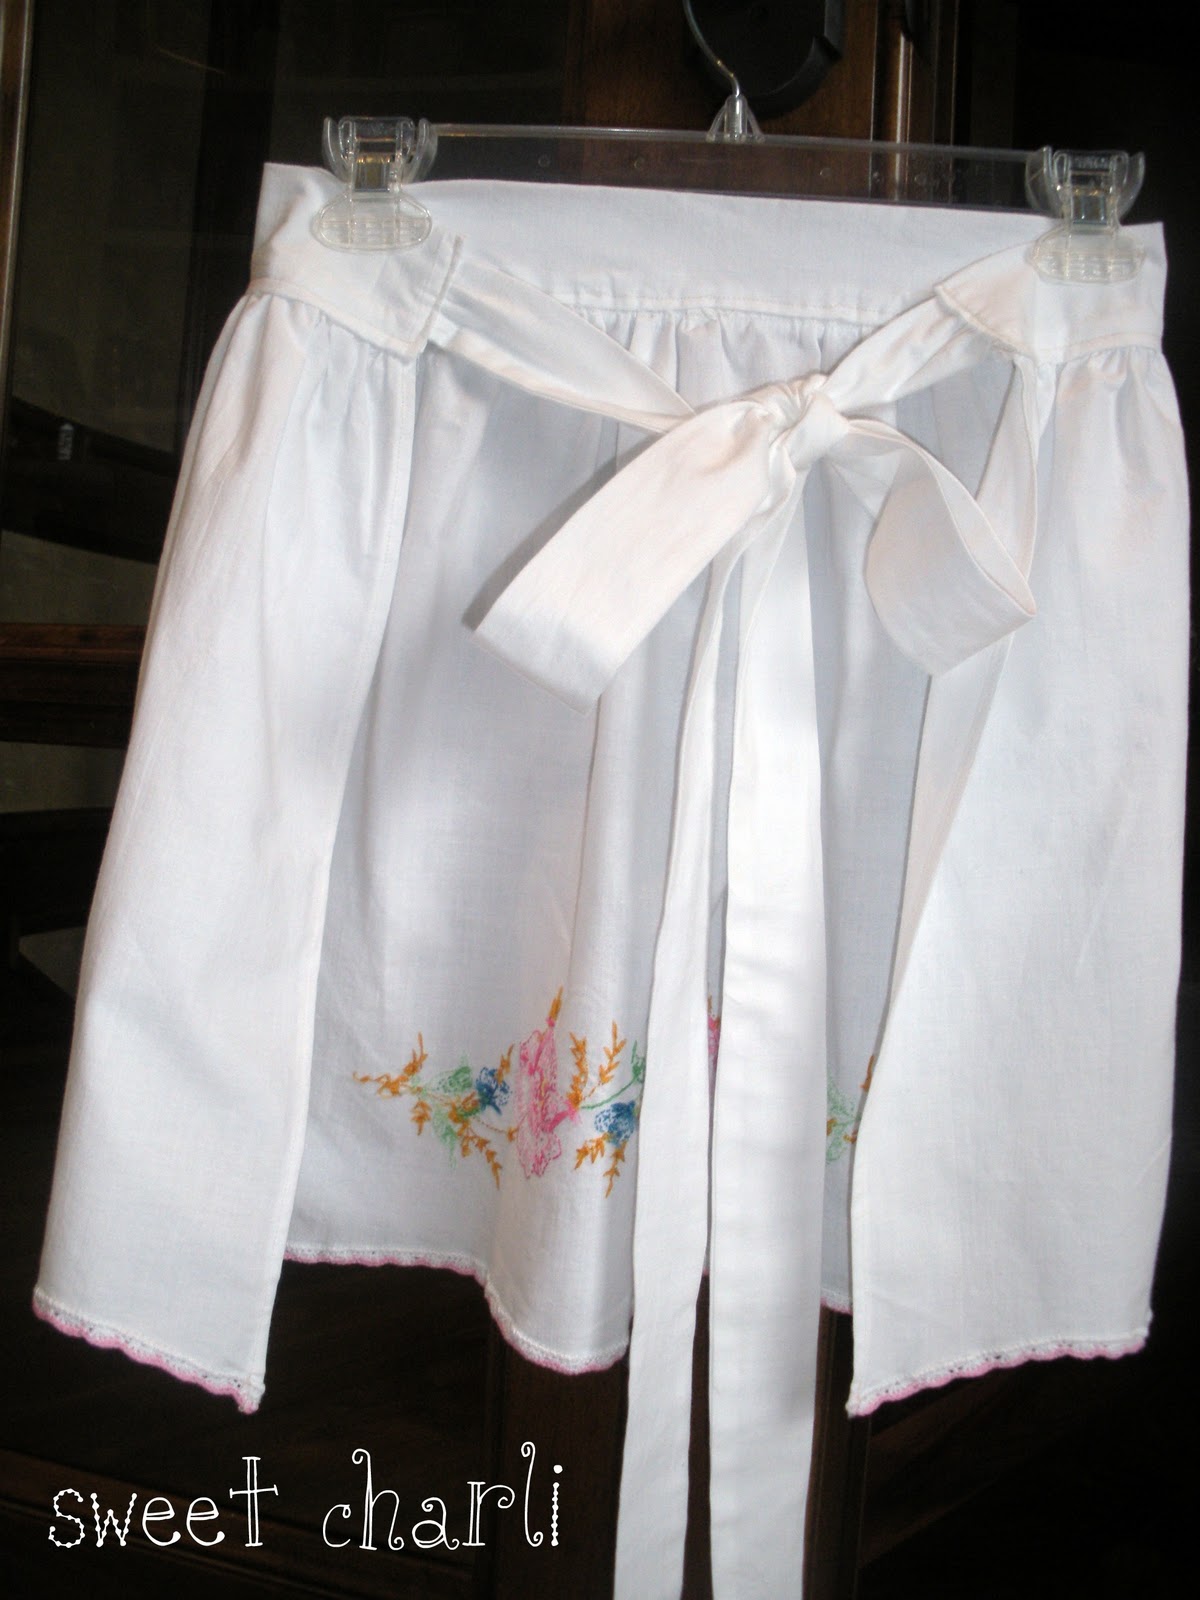
My mom found a darling vintage pillowcase apron on Little Birdie Secrets a while ago and mentioned she would like me to make one for her. I kind of forgot for a while and then remembered just in time for Christmas. See theirs HERE, and another tutorial HERE. I will give you a tutorial as well. Here’s what you need:
1 vintage embroidered pillowcase
sewing machine and sewing accessories, etc.
tape measure
This is for beginner/intermediate sewers. (meaning if I can do it, pretty much anyone with a sewing machine can!)
I have some very talented grandmothers whom I’m sure have plenty of embroidered pillowcases lying around. If you also know of someone you could get yours from, that’s an easy way to get them. Because I was pushed for time a little, I just got mine off of Etsy. There were lots to choose from. I bought mine from HERE.
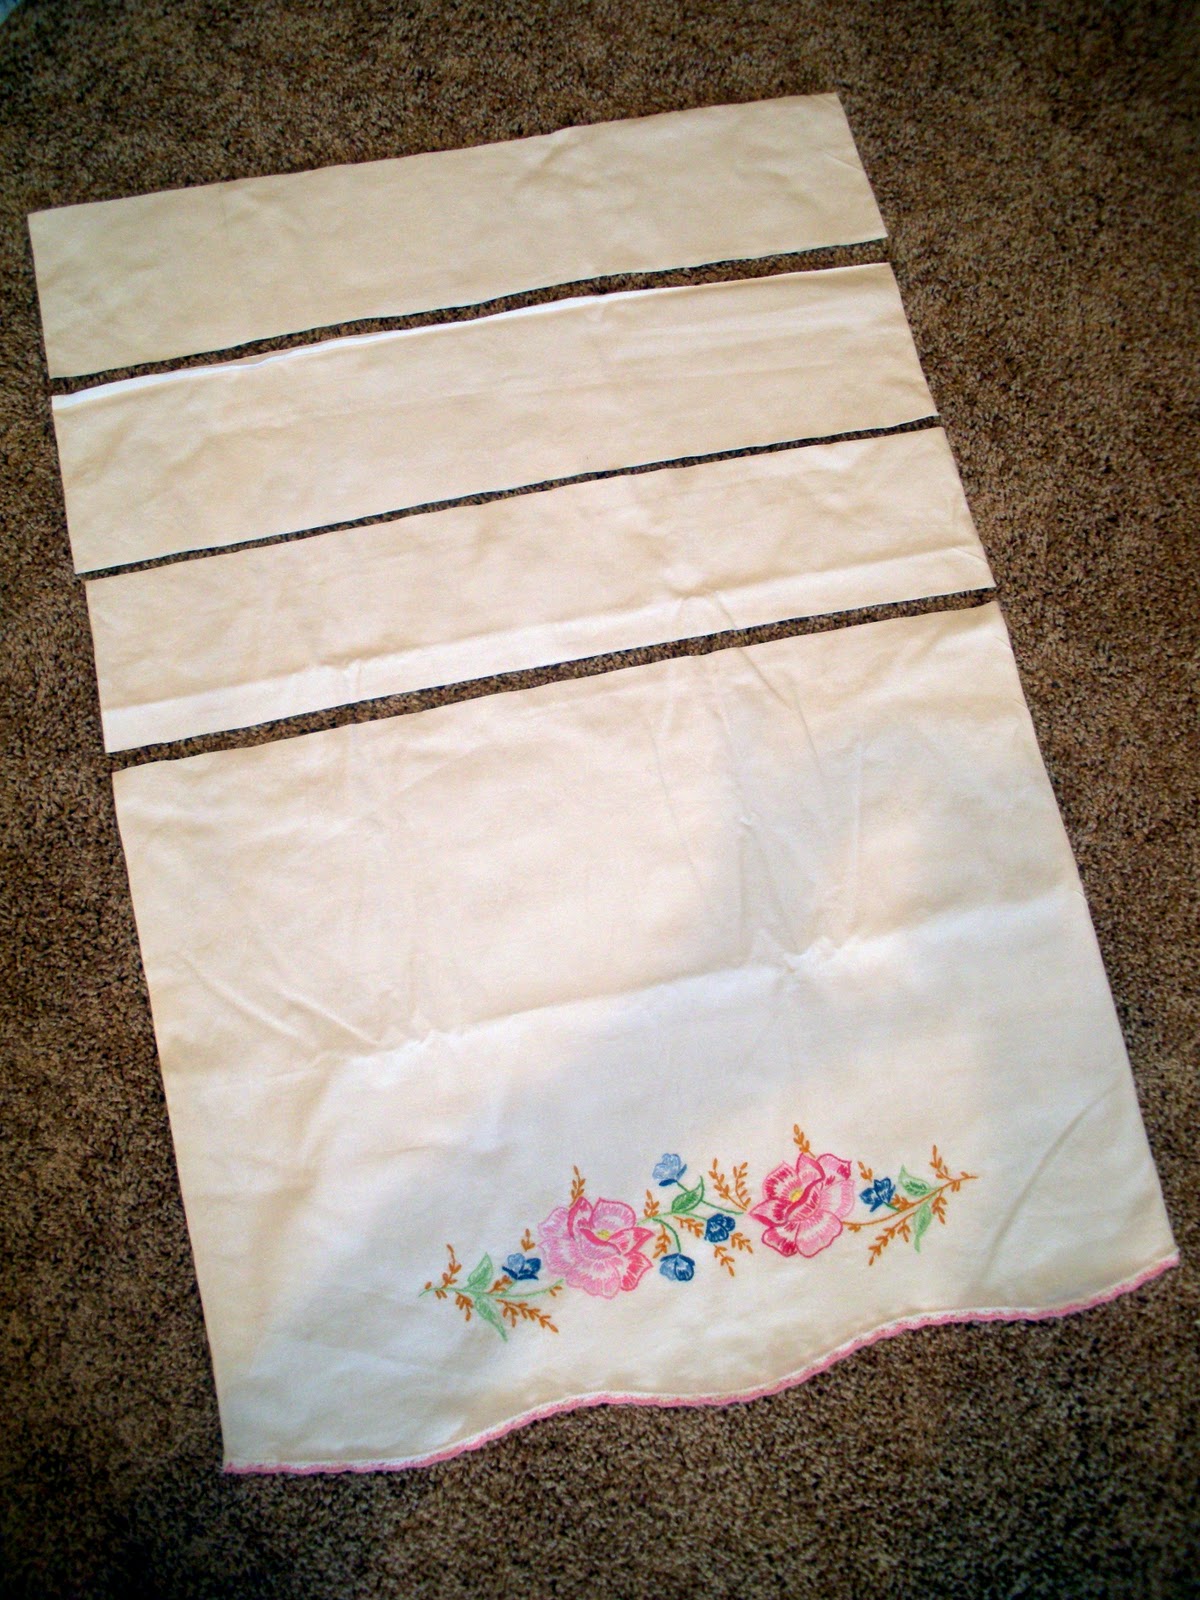
Start with your pillowcase laid flat and measure and cut the following:
Cut 3 pieces that are 4 ½” tall, the width of the pillowcase. And then one 15″ tall (the bottom piece with the embroidered design.)

Like this:
Next, cut up the back of all of your pieces so that when you spread them out it will look like this, with the design in the middle.

Hem the sides of your 15″ piece by folding over twice then sewing a straight stitch.

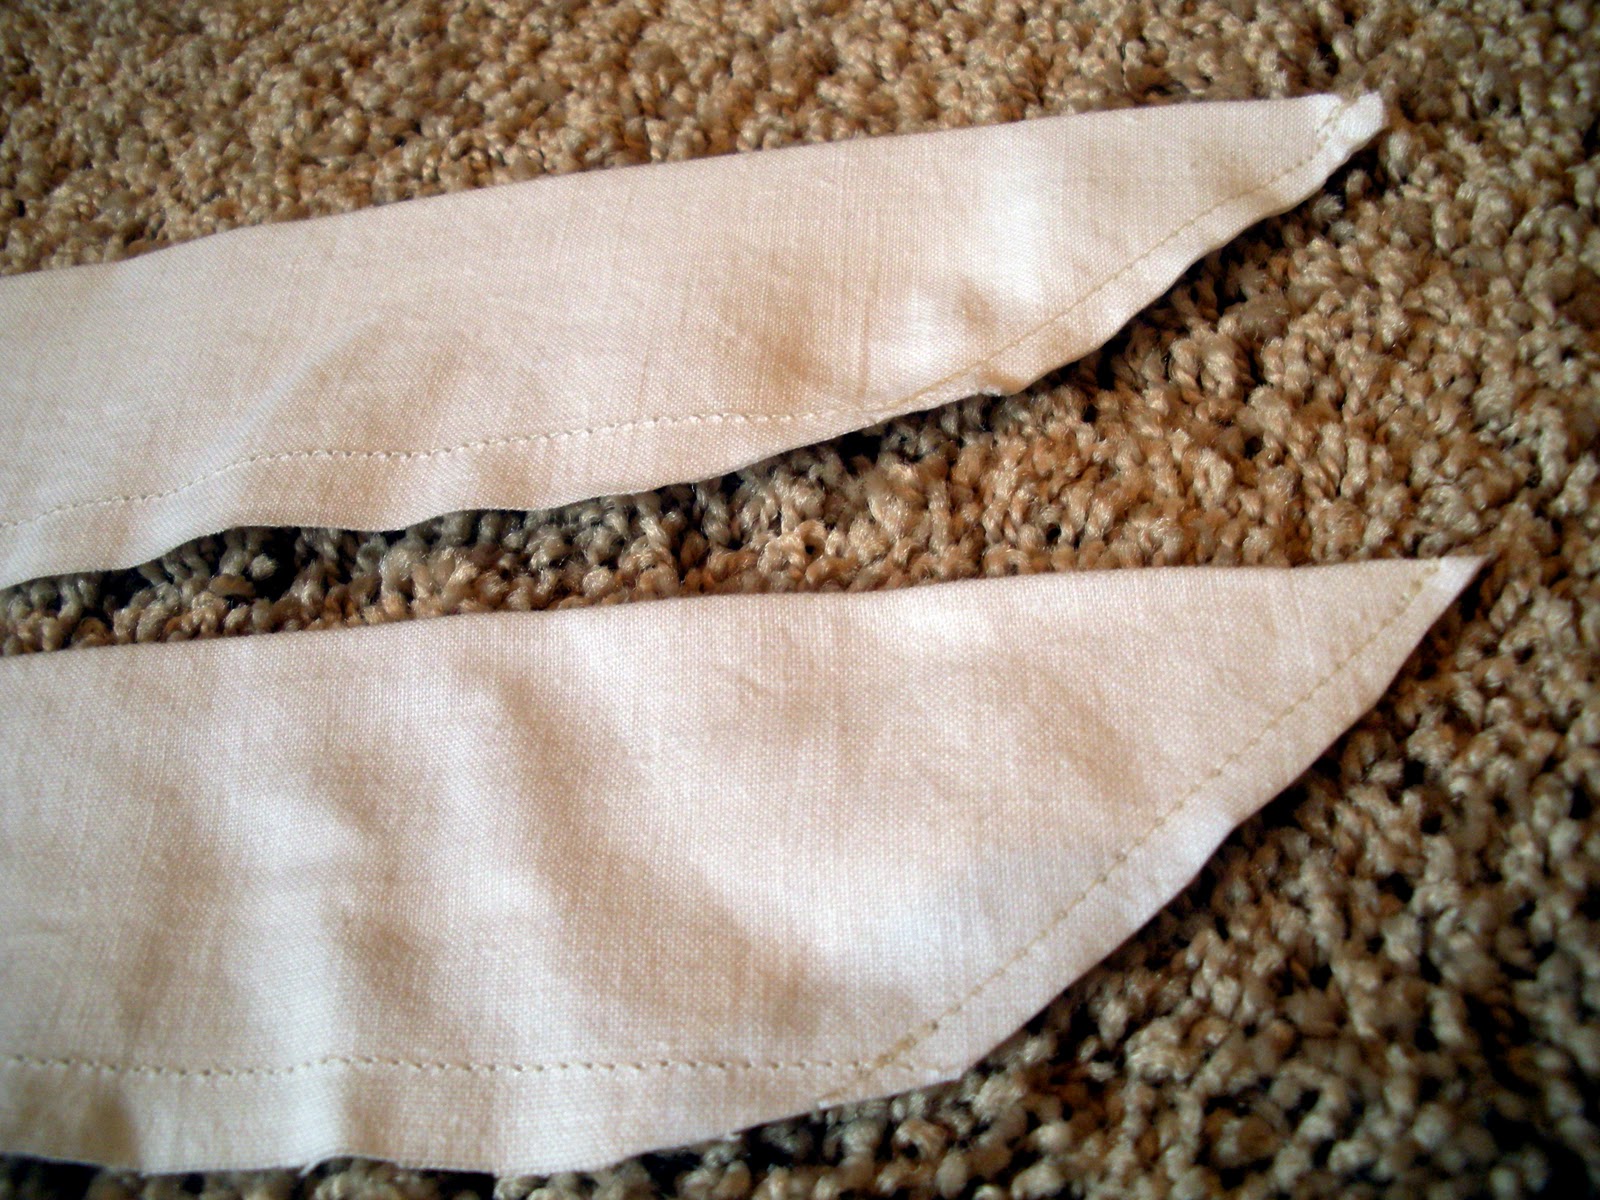
On two of the 4 1/2″ pieces, fold in half and sew along the open sides. Finish off one of the ends on both with a diagonal cut. Then you will turn these right side in! These will be your ties for the apron.
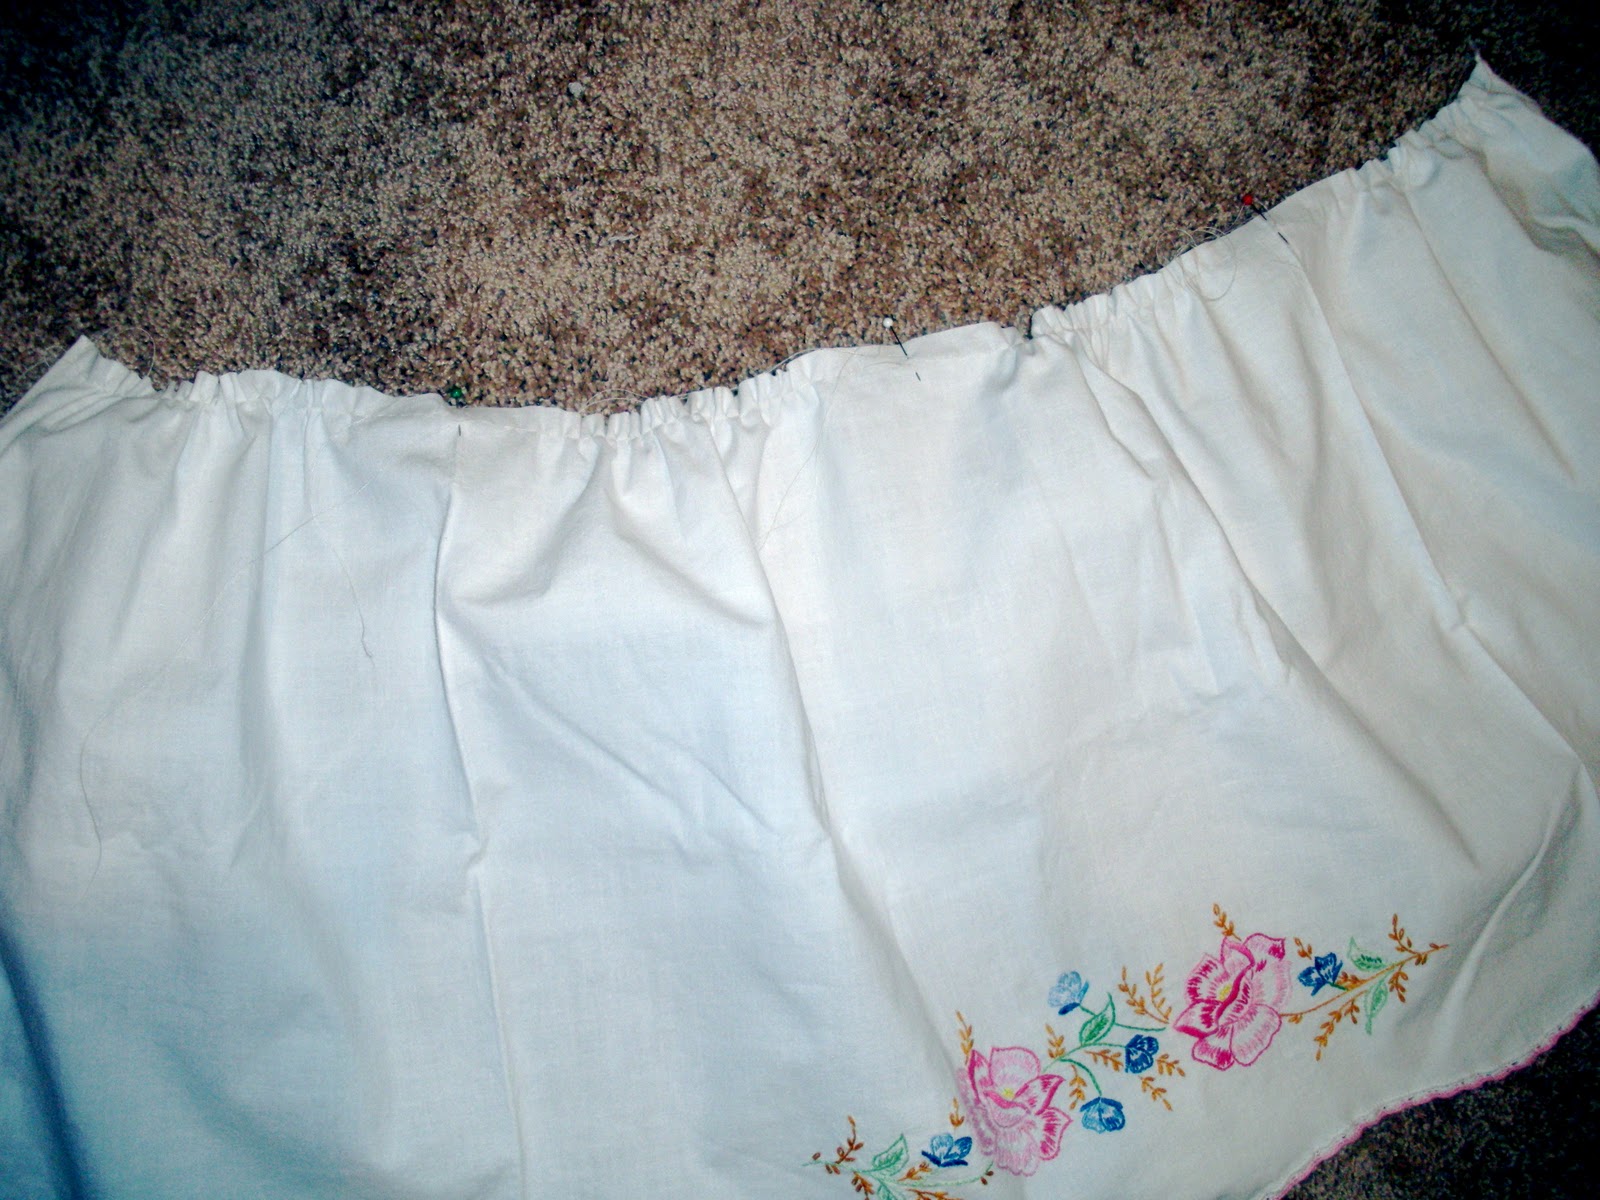
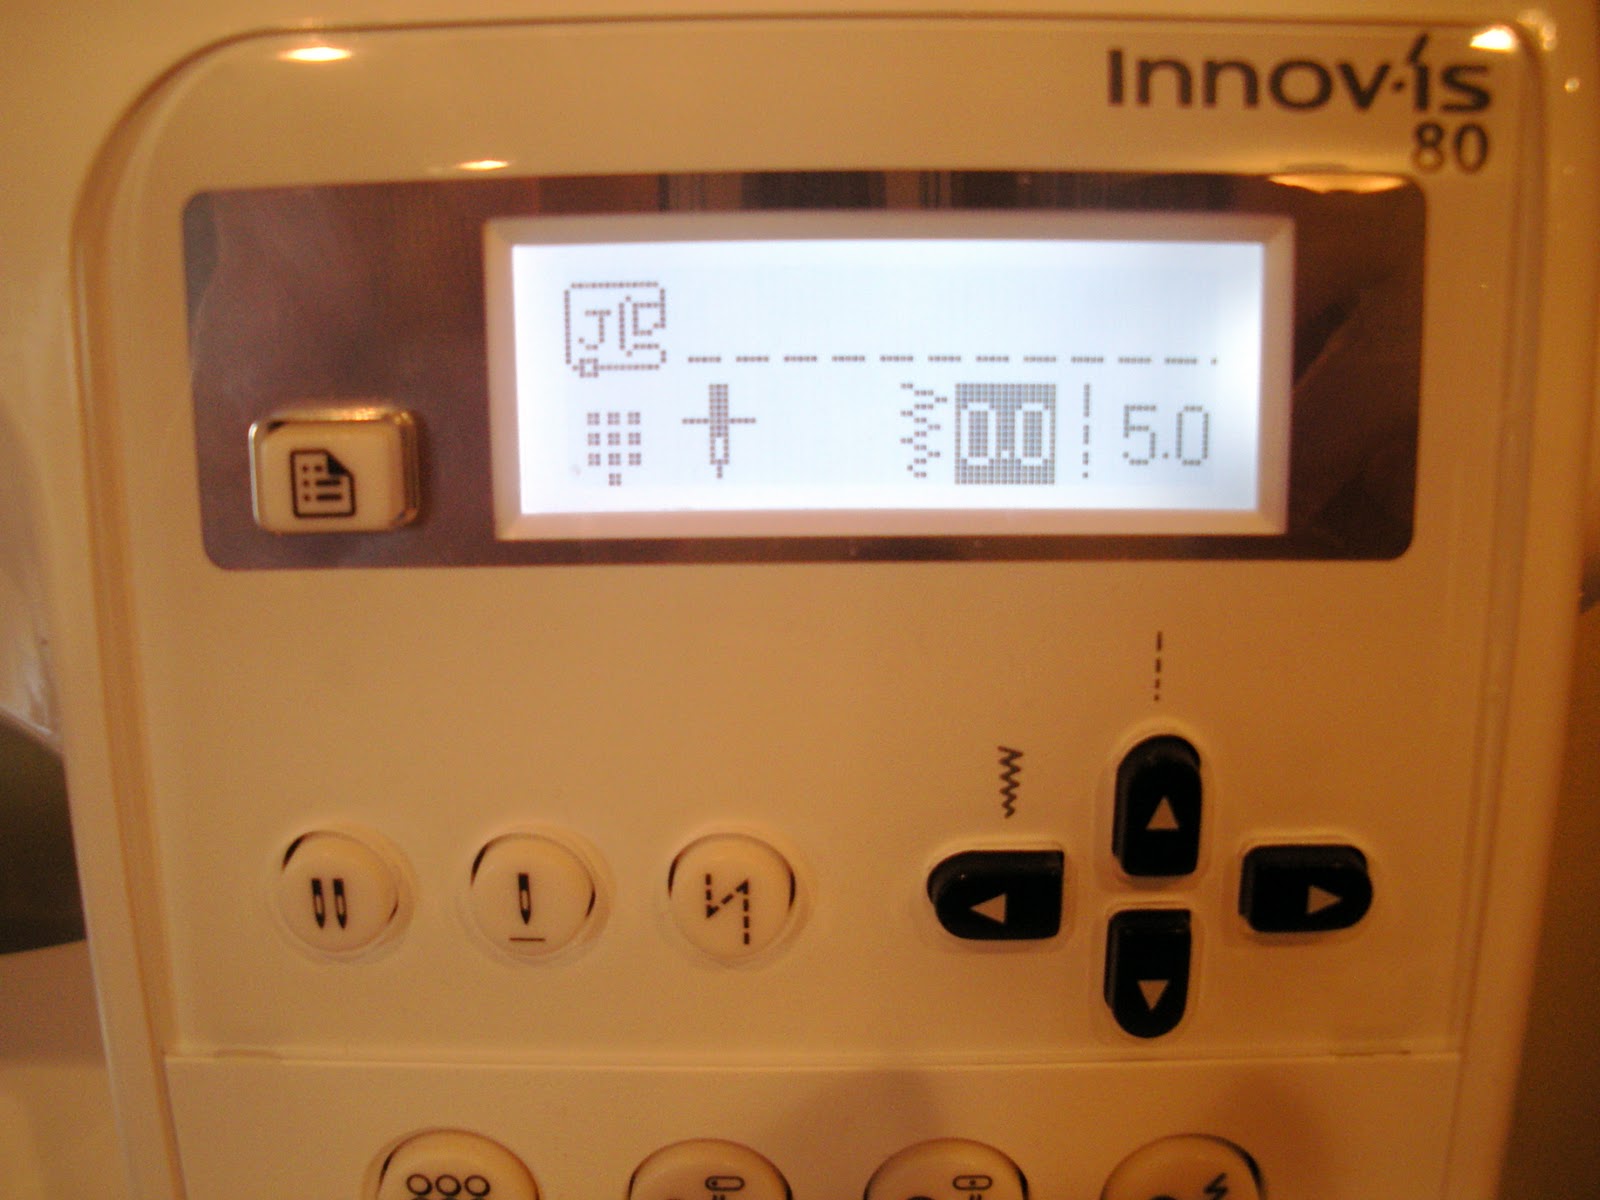
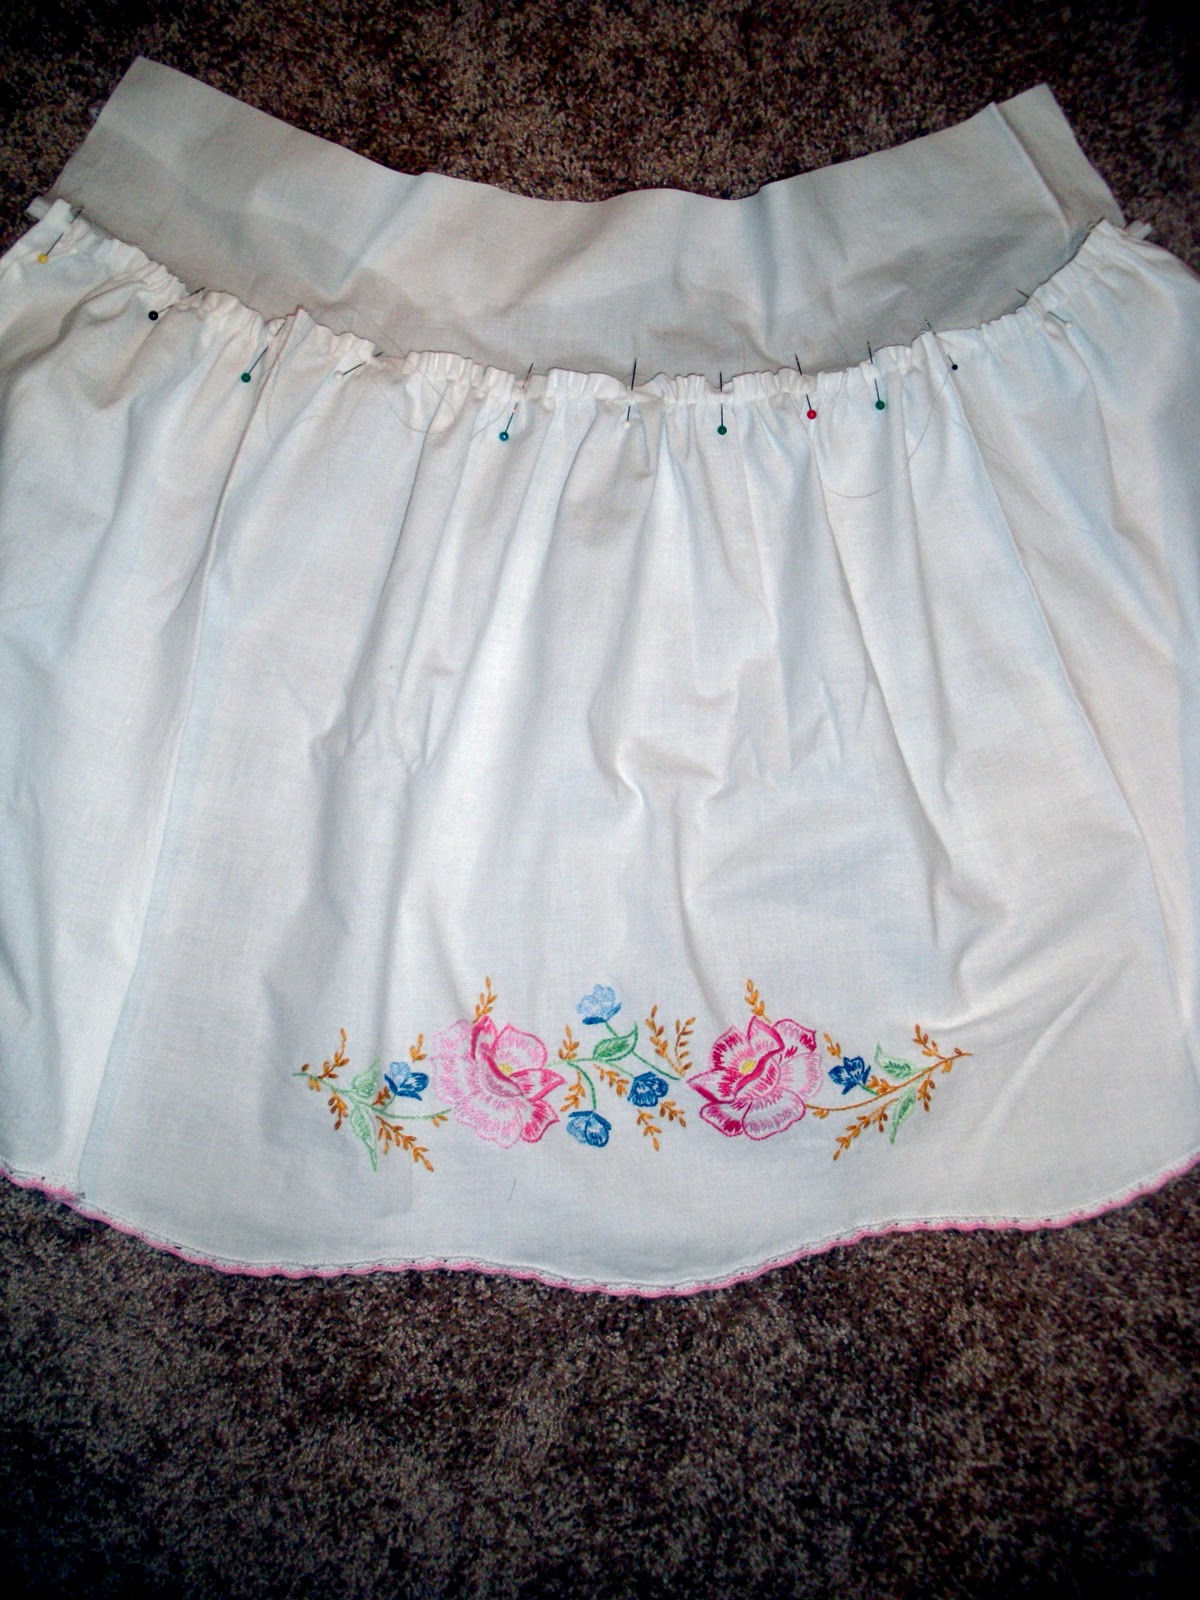
Next, you will take your bottom (15″) piece and baste the top. The way you do this is to sew a straight stitch along the top with the thread length at the longest it will go…
Usually on machines it is at a 5, pictured here:
Then, change your thread tension to the highest it will go, mine is a 9. After you change both those things, sew a straight stitch along the top of your piece and it will automatically ruffle/gather the fabric.

Once the fabric is gathered, take the 4 1/2″ piece you haven’t used yet and pin it to your 15″ gathered piece. Cut the extra 4 1/2” fabric off of the sides. You will know how much you want to cut off after you hold it up to your waist and see how you want it to look.
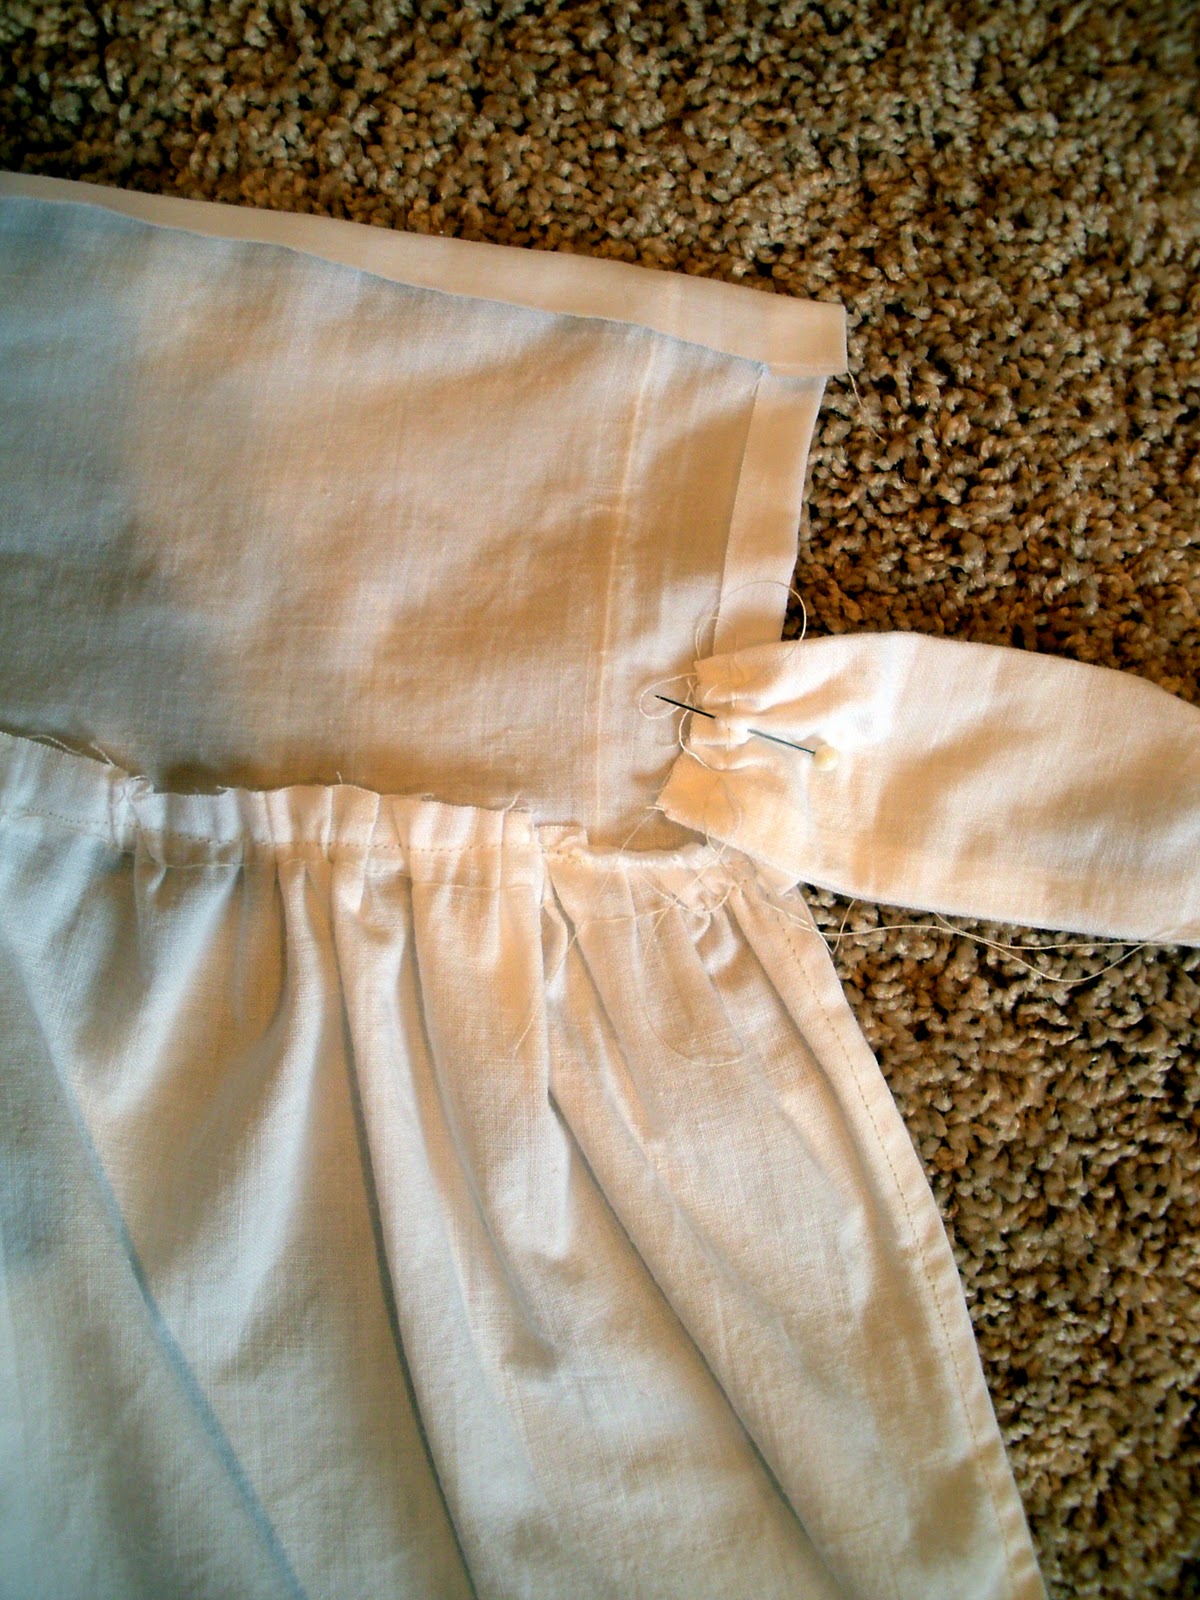
Before you sew the top piece on, put the two tie pieces inside the fold the top over.
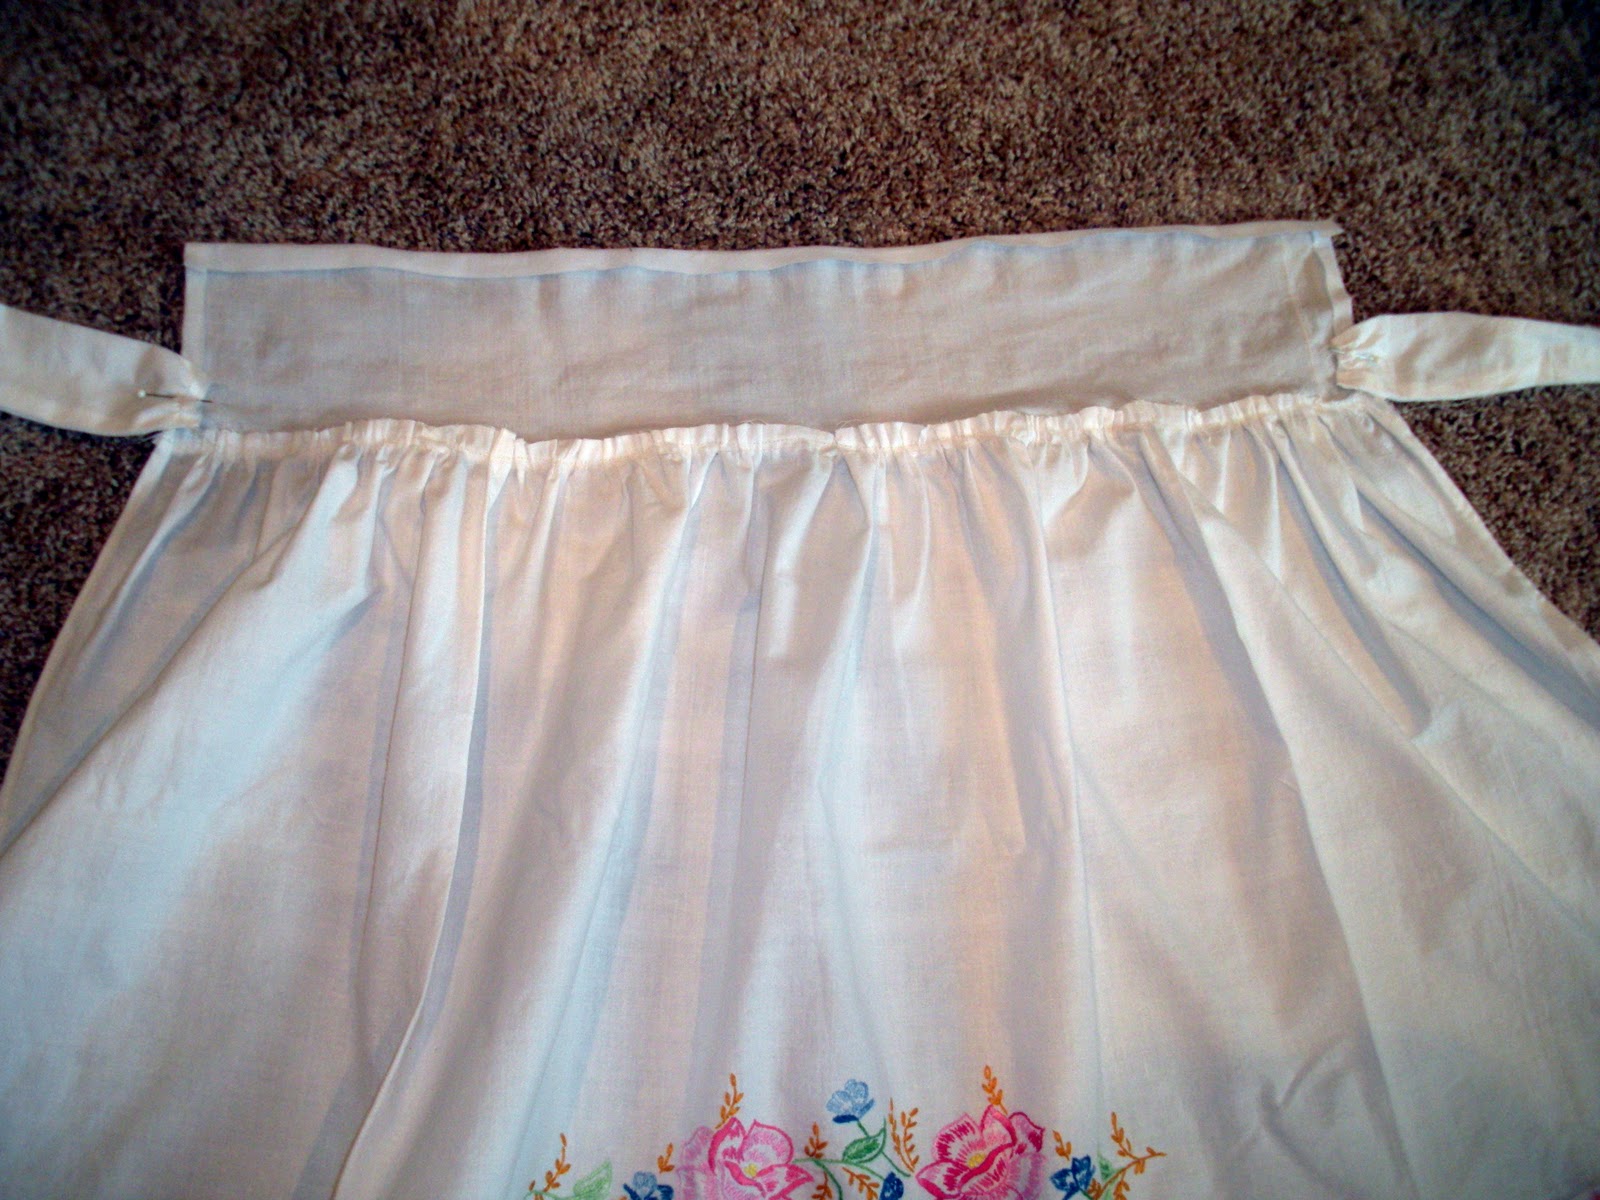
Then you will fold over the top piece and sew along the bottom and sides.
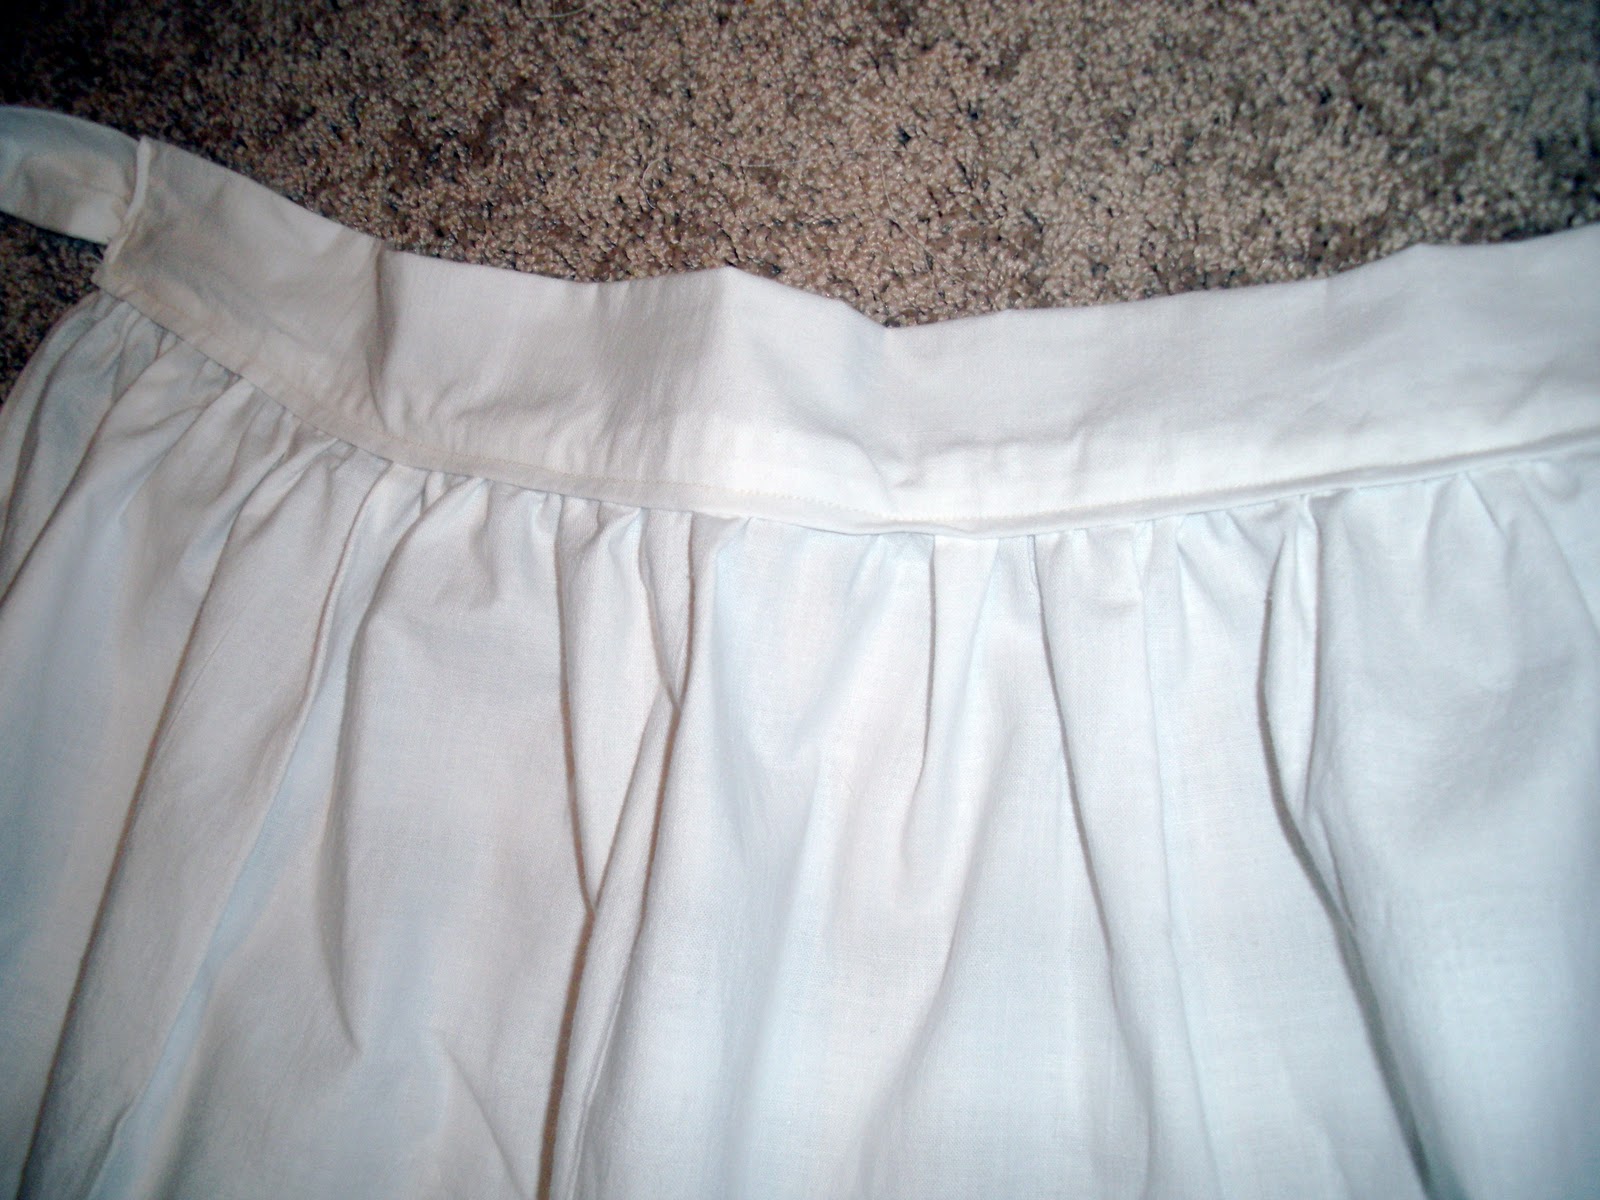
Then it will look like this when finished with the stitch.

I hope that all makes sense! If not, check out those other two blogs I listed above!

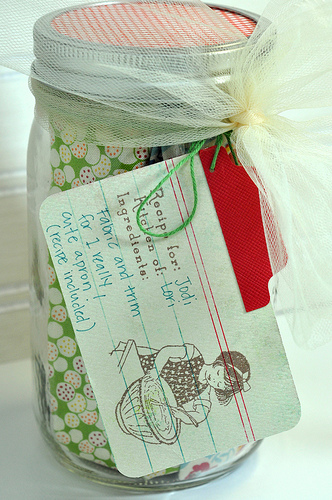
This is a great gift! If you are going to give it as a gift, I found the most darling way to wrap it on Pinterest: HERE is the link, From Pleasant-Home.


Darling apron!
[…] […]
[…] Pillowcase Apron […]