
 This wreath is so much fun, I love the way it brightens up my door from the road. Here’s what you’ll need:
Styrofoam Wreath Form
Tissue Paper Flowers
Wire
Hot Glue
Ribbon
FIRST- cover your wreath form with tissue paper (you can glue the tissue paper on, or staple it!) SECOND – start making your tissue paper flowers. If you’ve never made one before, here’s how:
Cut a square of tissue papers (I used about 5 sheets, you can do whatever size you’d like. Remember the smaller, the more time it will take you!) and begin folding back and forth like you did in elementary to make a fan. Once done folding, take your wire and wrap around folded paper, and twist the wire so the paper won’t come unfolded.
Then, cut the ends of the tissue to be round or pointed. Rounded ends creates a soft flower look. Pointed ends look more like a leaf. THIRD – take each flower and begin spreading the tissues apart. Be careful not to rip them. If there are a few rips, however, they aren’t very noticeable!
 FOURTH – once you are done making all of your flowers (place them around the wreath so you know when you have enough), trim all the wires to about 1/2 in – 1 in stub.
 FIFTH – make sure before you glue your flowers to your form, you place them all where they are going to go. *Be sure to glue the ribbon on (to hang your wreath) BEFORE you glue your flowers on!
 SIXTH – put glue around the base of the wire stub, then stick the wire into the styrofome.
 Hang your wreath with that pretty ribbon you glued underneath your flowers and
Waaahlaah!
Hope you enjoy your new wreath!
It’s so much fun using one solid color, or multi-colors shown here. You can do this to match any season! 🙂 Here are some fall versions:

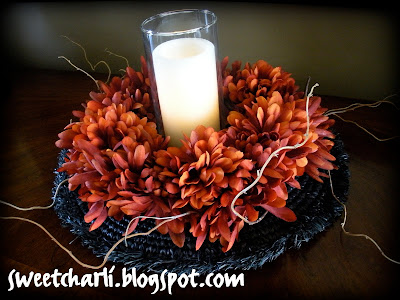
And if you don’t have a covered porch or storm glass door, use silk flowers from the Dollar Store as shown here:


So cute Kami! I love it. I may have to link over to this cute little puppy when I announce your winner. So, here’s a small world for you….the producer that I worked with at Studio5 is your cousin, Mindy. Small world,huh?
Super cute, it makes me want spring!!
I love the fall version with the greys and yellows – perfect color combination! Great job.
Lovvvve the fall paper wreath. Is there a tut on making it? It looks pretty simple, but I would love to know what they attached the flowers to.
Saw this on Studio 5! Can I put it on my blog and link it back to you? Staci
designingmotherhood at hotmail.com
Kam-
Darling! My head is spinning with the possibilites of what I can do with this!! Dang you and adding things to my already too long to-do list! Happy Weekend!
This is so cute and would look great almost any where. Thanks for your nice comments!
This is really sweet. I love the colors. I might make one for my home.
wood bed frames
Did you use 5 sheets total of tissue paper or for each flower?