
Hello Sweet Charli readers! I’m thrilled to be guest posting over here today! My name is Jax and I blog over at.

I’d love for you to come over for a visit but today I’ll make it easy and come to you! Kami and I decided to swap one of our most popular tutorials! And personally I think this little lace flower is just perfect for summer and it’s super easy! So let’s get to it!
I’d love for you to come over for a visit but today I’ll make it easy and come to you! Kami and I decided to swap one of our most popular tutorials! And personally I think this little lace flower is just perfect for summer and it’s super easy! So let’s get to it!
Little Lace Flower

What you’ll need:
Lace Trim – Felt – Glue Gun
Lace Trim – Felt – Glue Gun

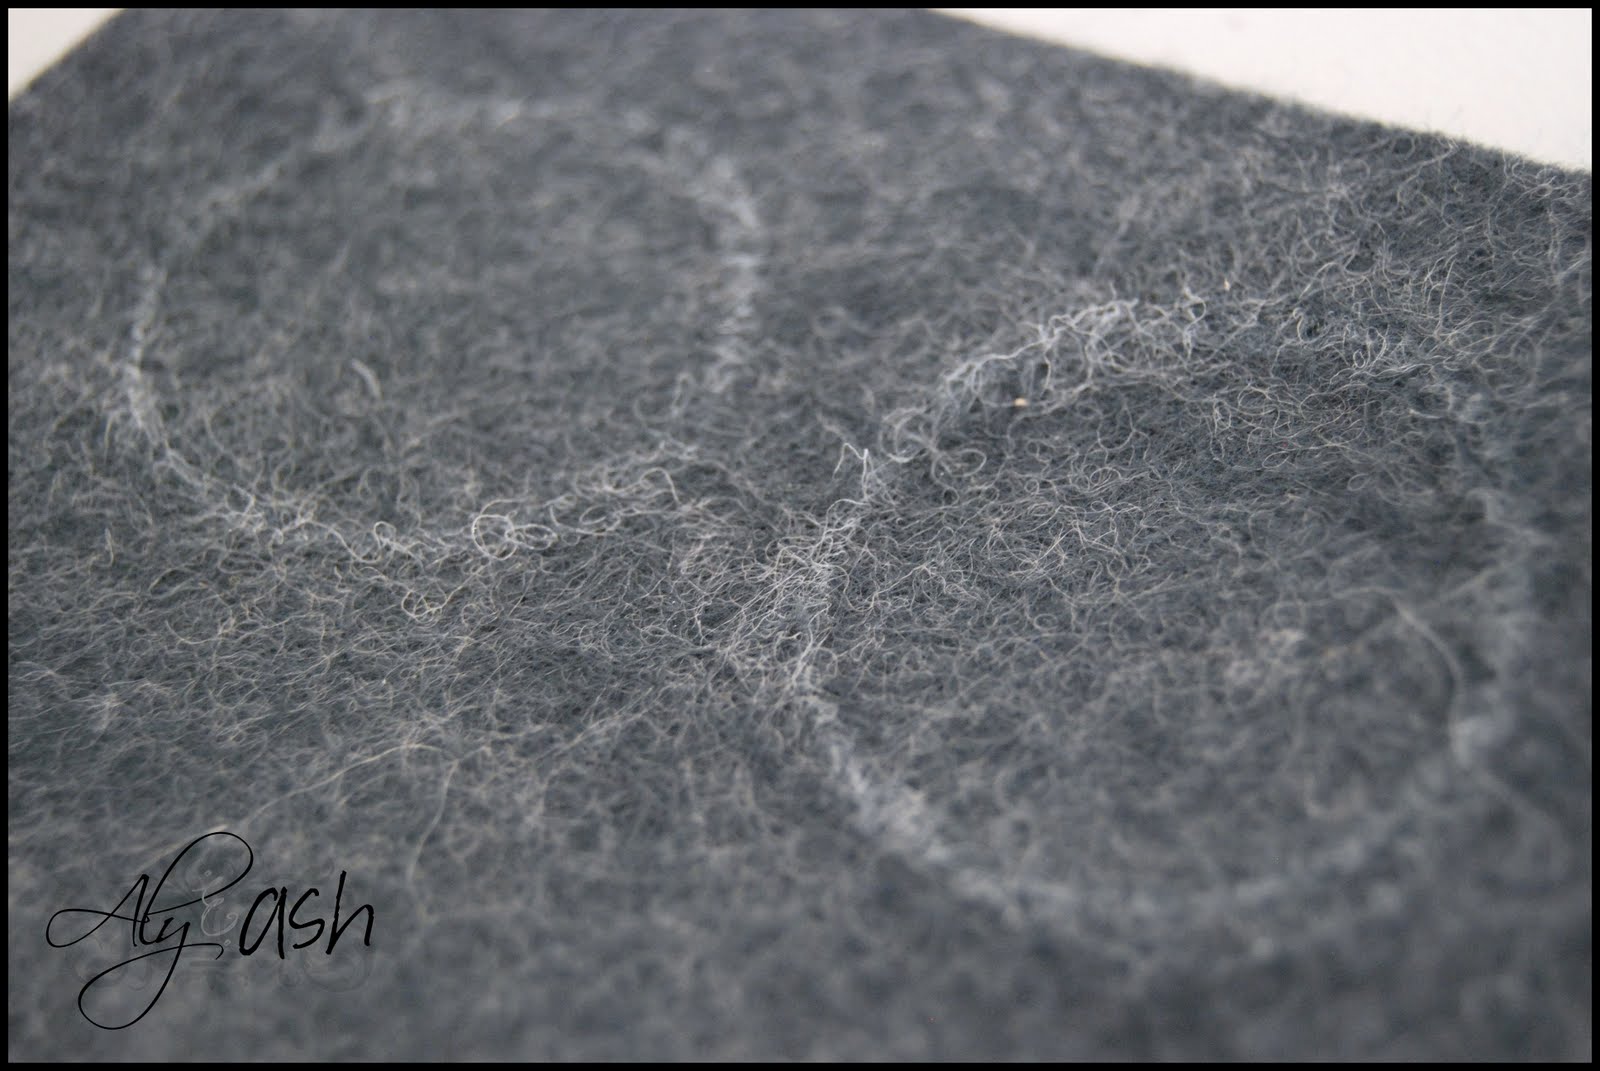
Step One: Trace and cut two circles out of your felt.
Step Two: Apply a thin bead of glue to the outside of your felt circle.
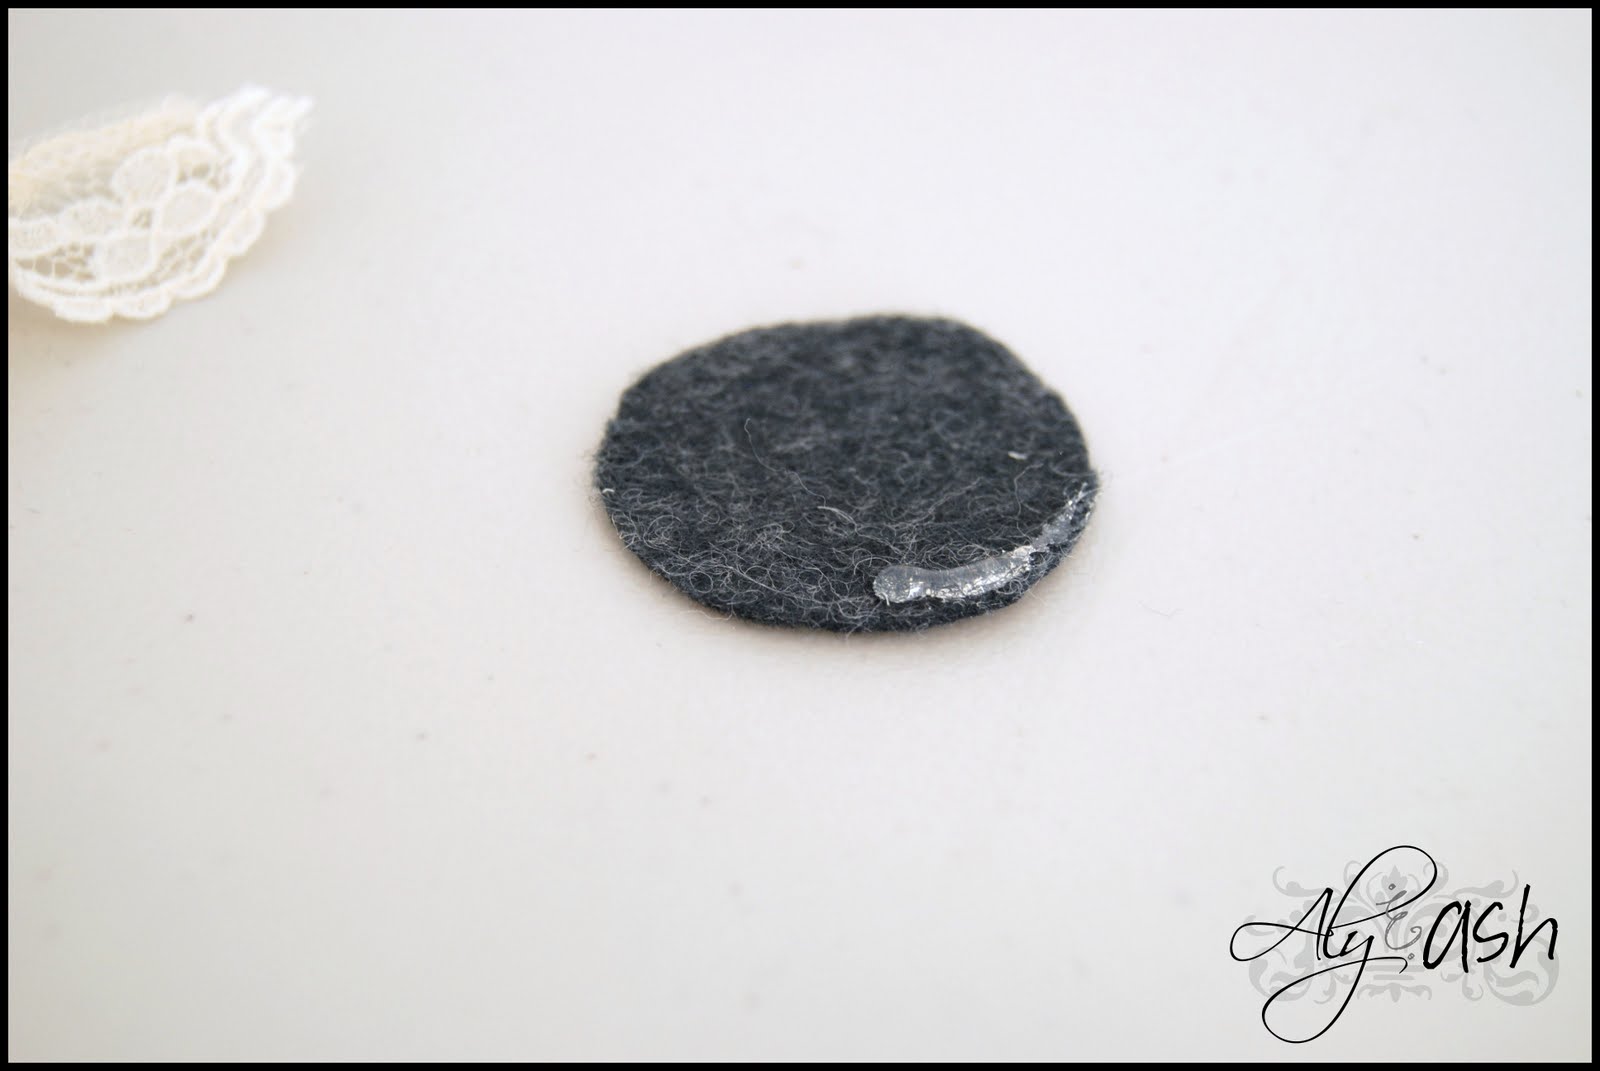
Step Three: Stick the inside edge of your lace trim to the glue.

Step Four: Continue steps 2&3 in small increments.
(I used an old thimble to prevent burning my fingers on the hot glue.)
(I used an old thimble to prevent burning my fingers on the hot glue.)

Step Five: When you get to the center just cut your trim and glue end down.

Optional Steps: Now you can either leave the lace flower as is or embellish the center:
(I found these adorable brads at Target)
(I found these adorable brads at Target)

You will want to make a pilot hole with your craft knife, then add your brad.

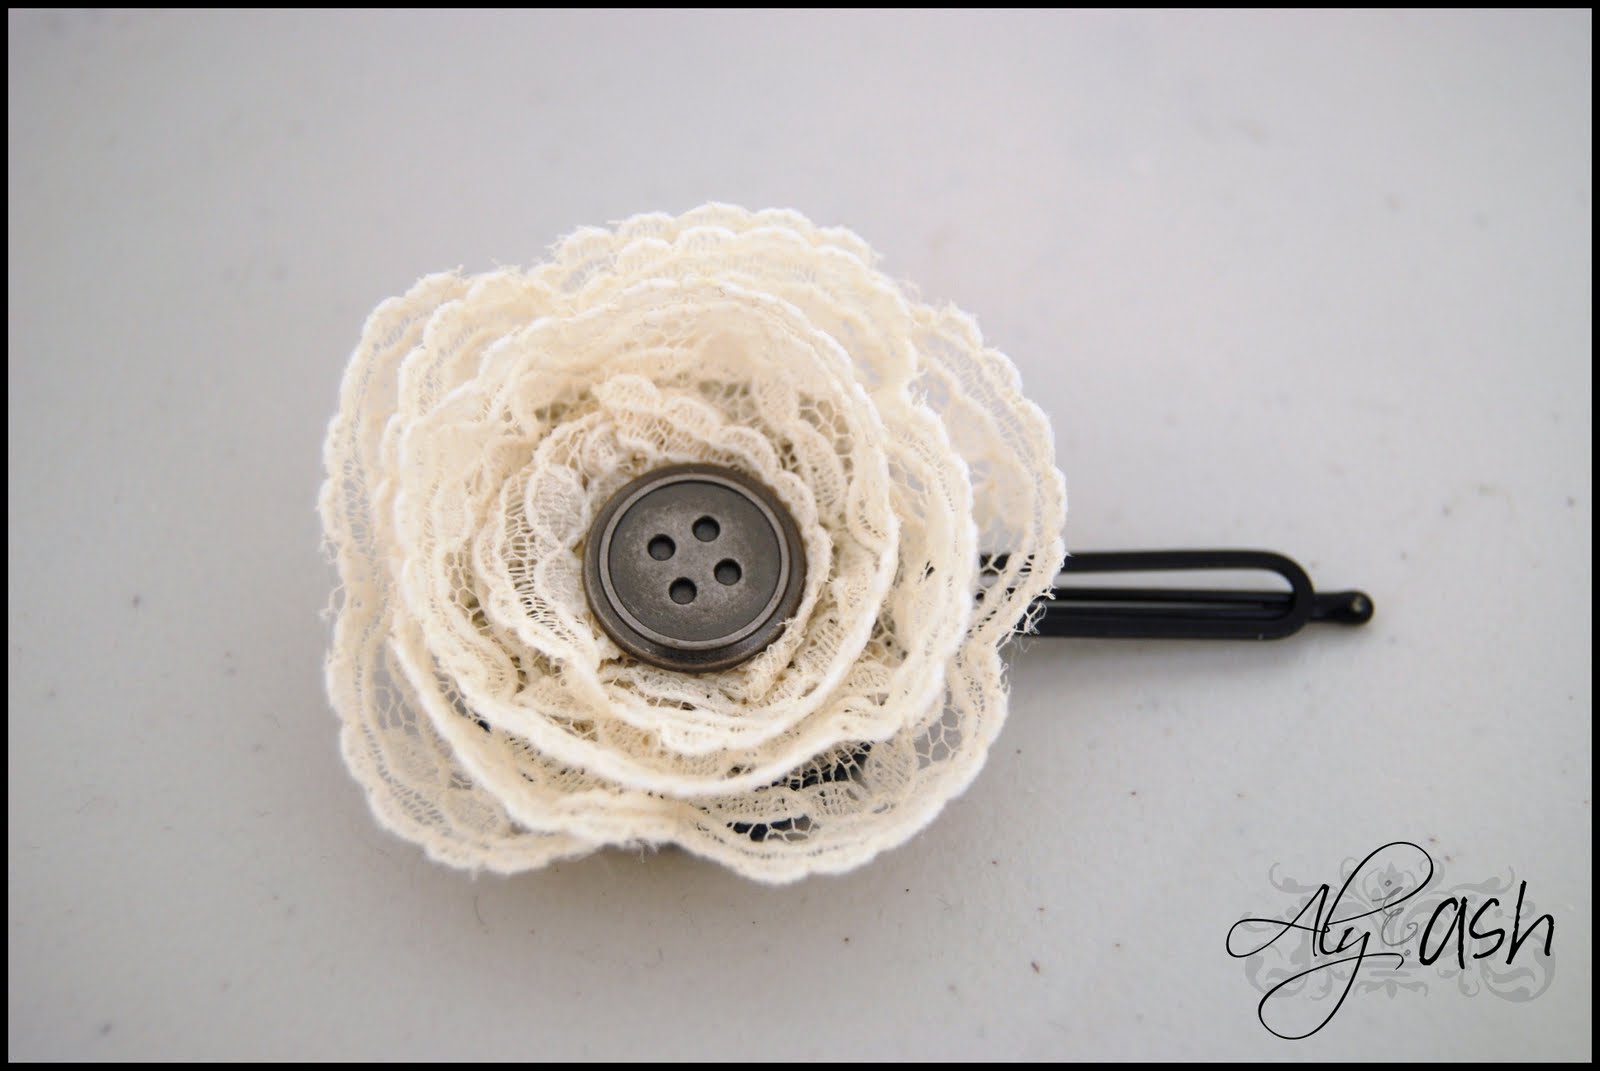
Now you have a cute little lace flower!

Isn’t she pretty! You can use this so many different ways!
I choose to put it on a large bobby pin.
(When I make soft headbands I sew the elastic with a long overlap and opening so I can slide these puppies right in!)
I choose to put it on a large bobby pin.
(When I make soft headbands I sew the elastic with a long overlap and opening so I can slide these puppies right in!)
To secure to the bobby pin slide you 2nd piece on felt through the center.

Now glue your lace flower on top!
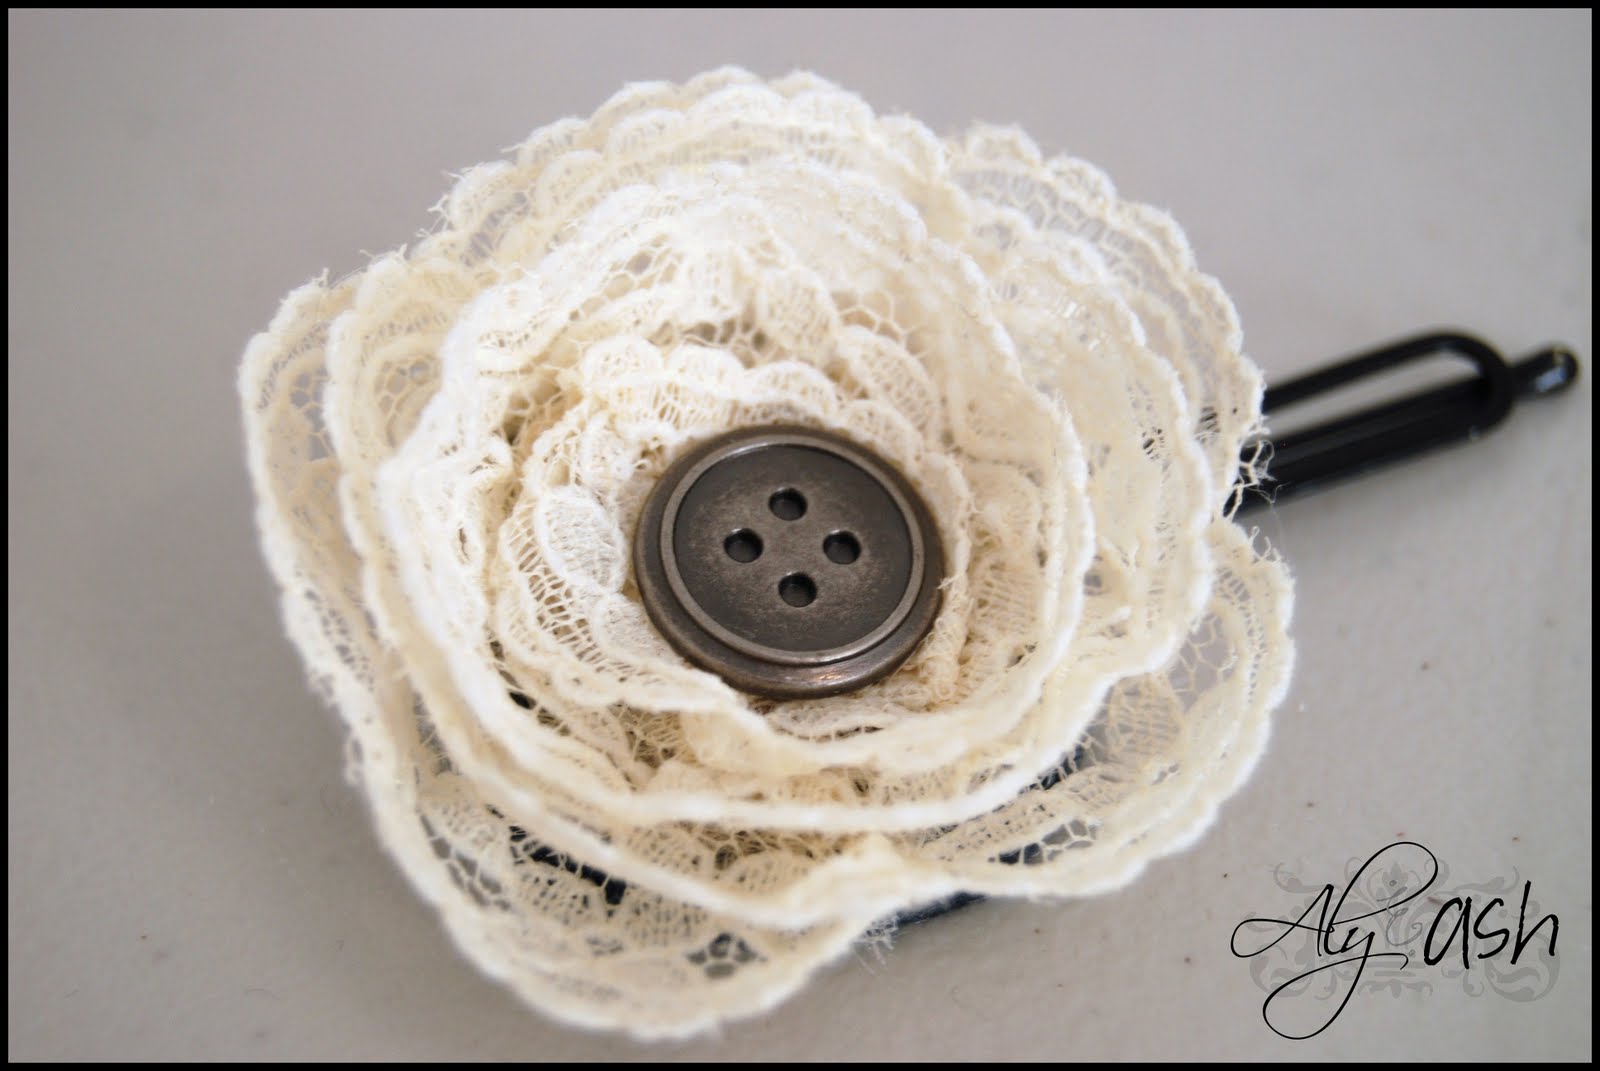
Tada! I love the vintage feel!
Hope you enjoyed this little tute! Thanks for having me and come visit me at Aly&Ash soon and check out more tutorials projects and fun stuff!
Hope you enjoyed this little tute! Thanks for having me and come visit me at Aly&Ash soon and check out more tutorials projects and fun stuff!